Downloading Studio
Zendir Studio can be downloaded from the user account portal on the website. To access the installer, make sure that the user has created an account and has a license to Studio. A 14-day free trial is available to activate from the website if a paid account is not available. Download the installer from the website which will be a Windows .msi file.
WARNING
Please contact Zendir if your trial license has expired for extension and payment options. The software will require an active authentication with your account to allow access.
Once the installer is downloaded, run the installer software. The software will be named ZendirStudio_v[X.X.X].msi, where X indicates the version of the software. This will open up a custom installer that will handle the installation directory and any preferences.
NOTE
The version from the website will always be the latest version of Zendir Studio, which may not match the image above. This documentation will include the correct workflows and information associated with a particular version of Zendir Studio.
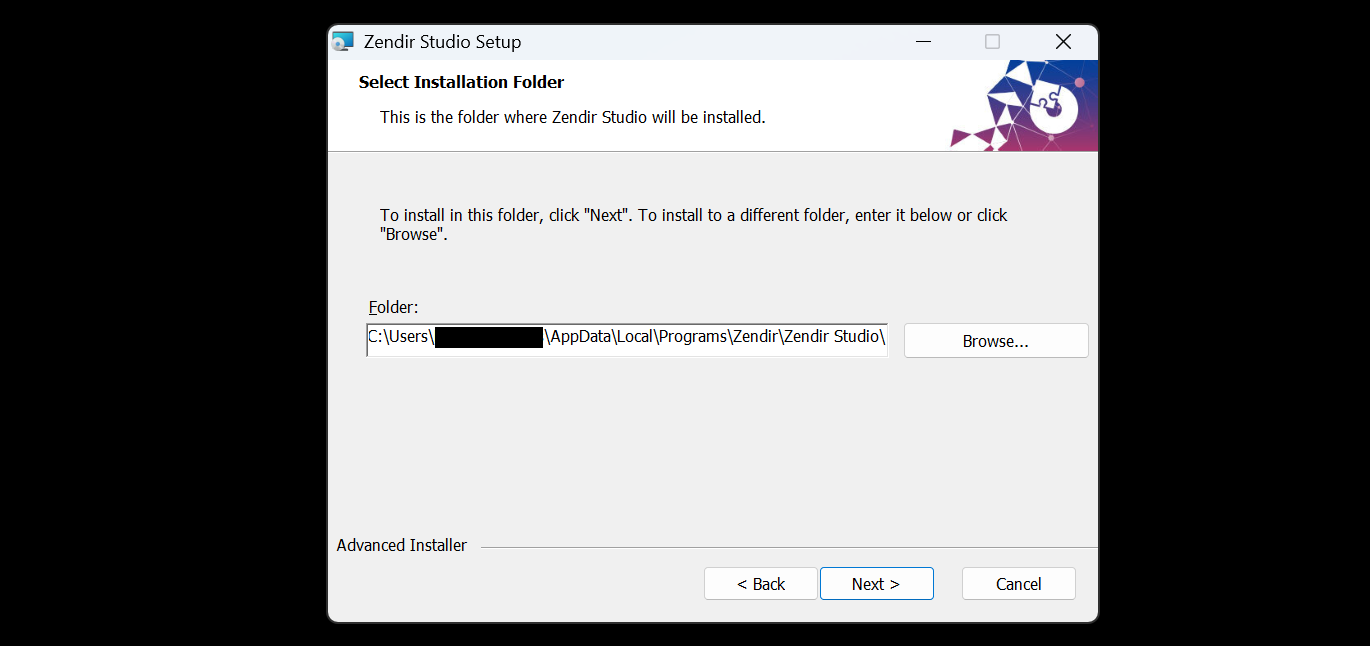
The application’s location is in the AppData by default, but it can be changed to any location on your machine. The application can also create shortcuts to the software that can be selected.
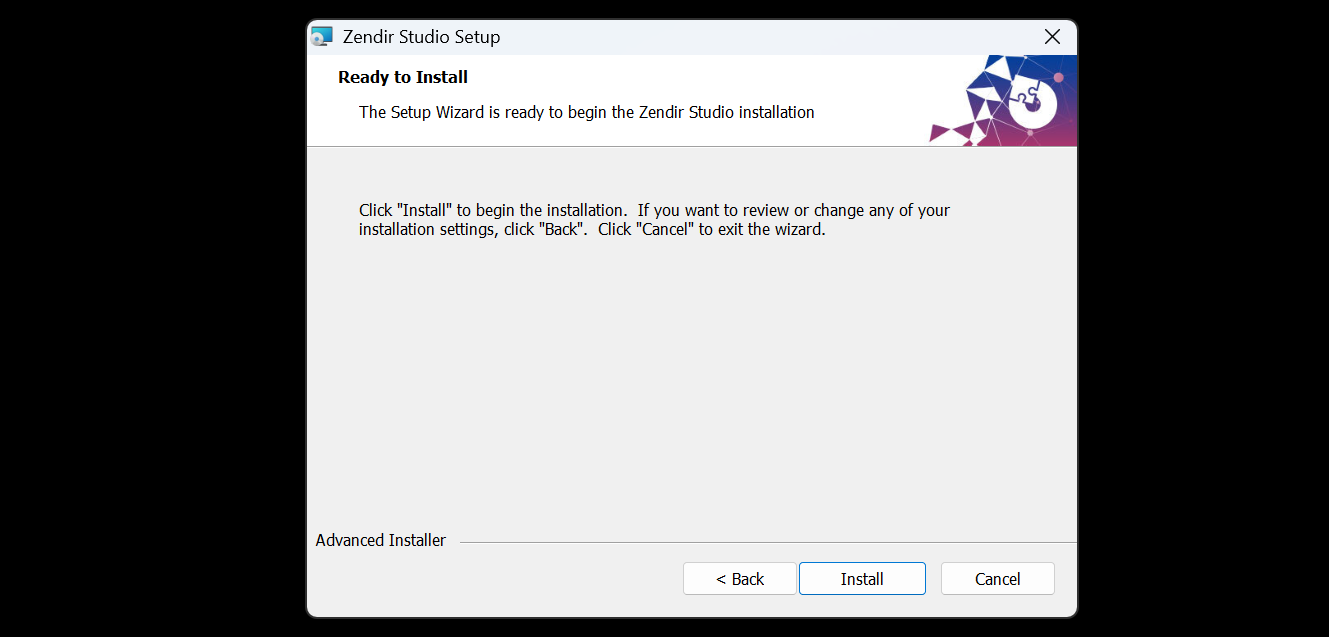
Finally, when all the preferences have been selected, hit the Install button and wait for the software to install the application.
Launching Zendir Studio
When the application loads, log in using the account credentials associated with the Zendir account used to access the software from the website.

NOTE
Zendir’s authentication system requires Internet access when launching Zendir Studio. The authentication will also be required each day but the credentials will be stored between sessions.
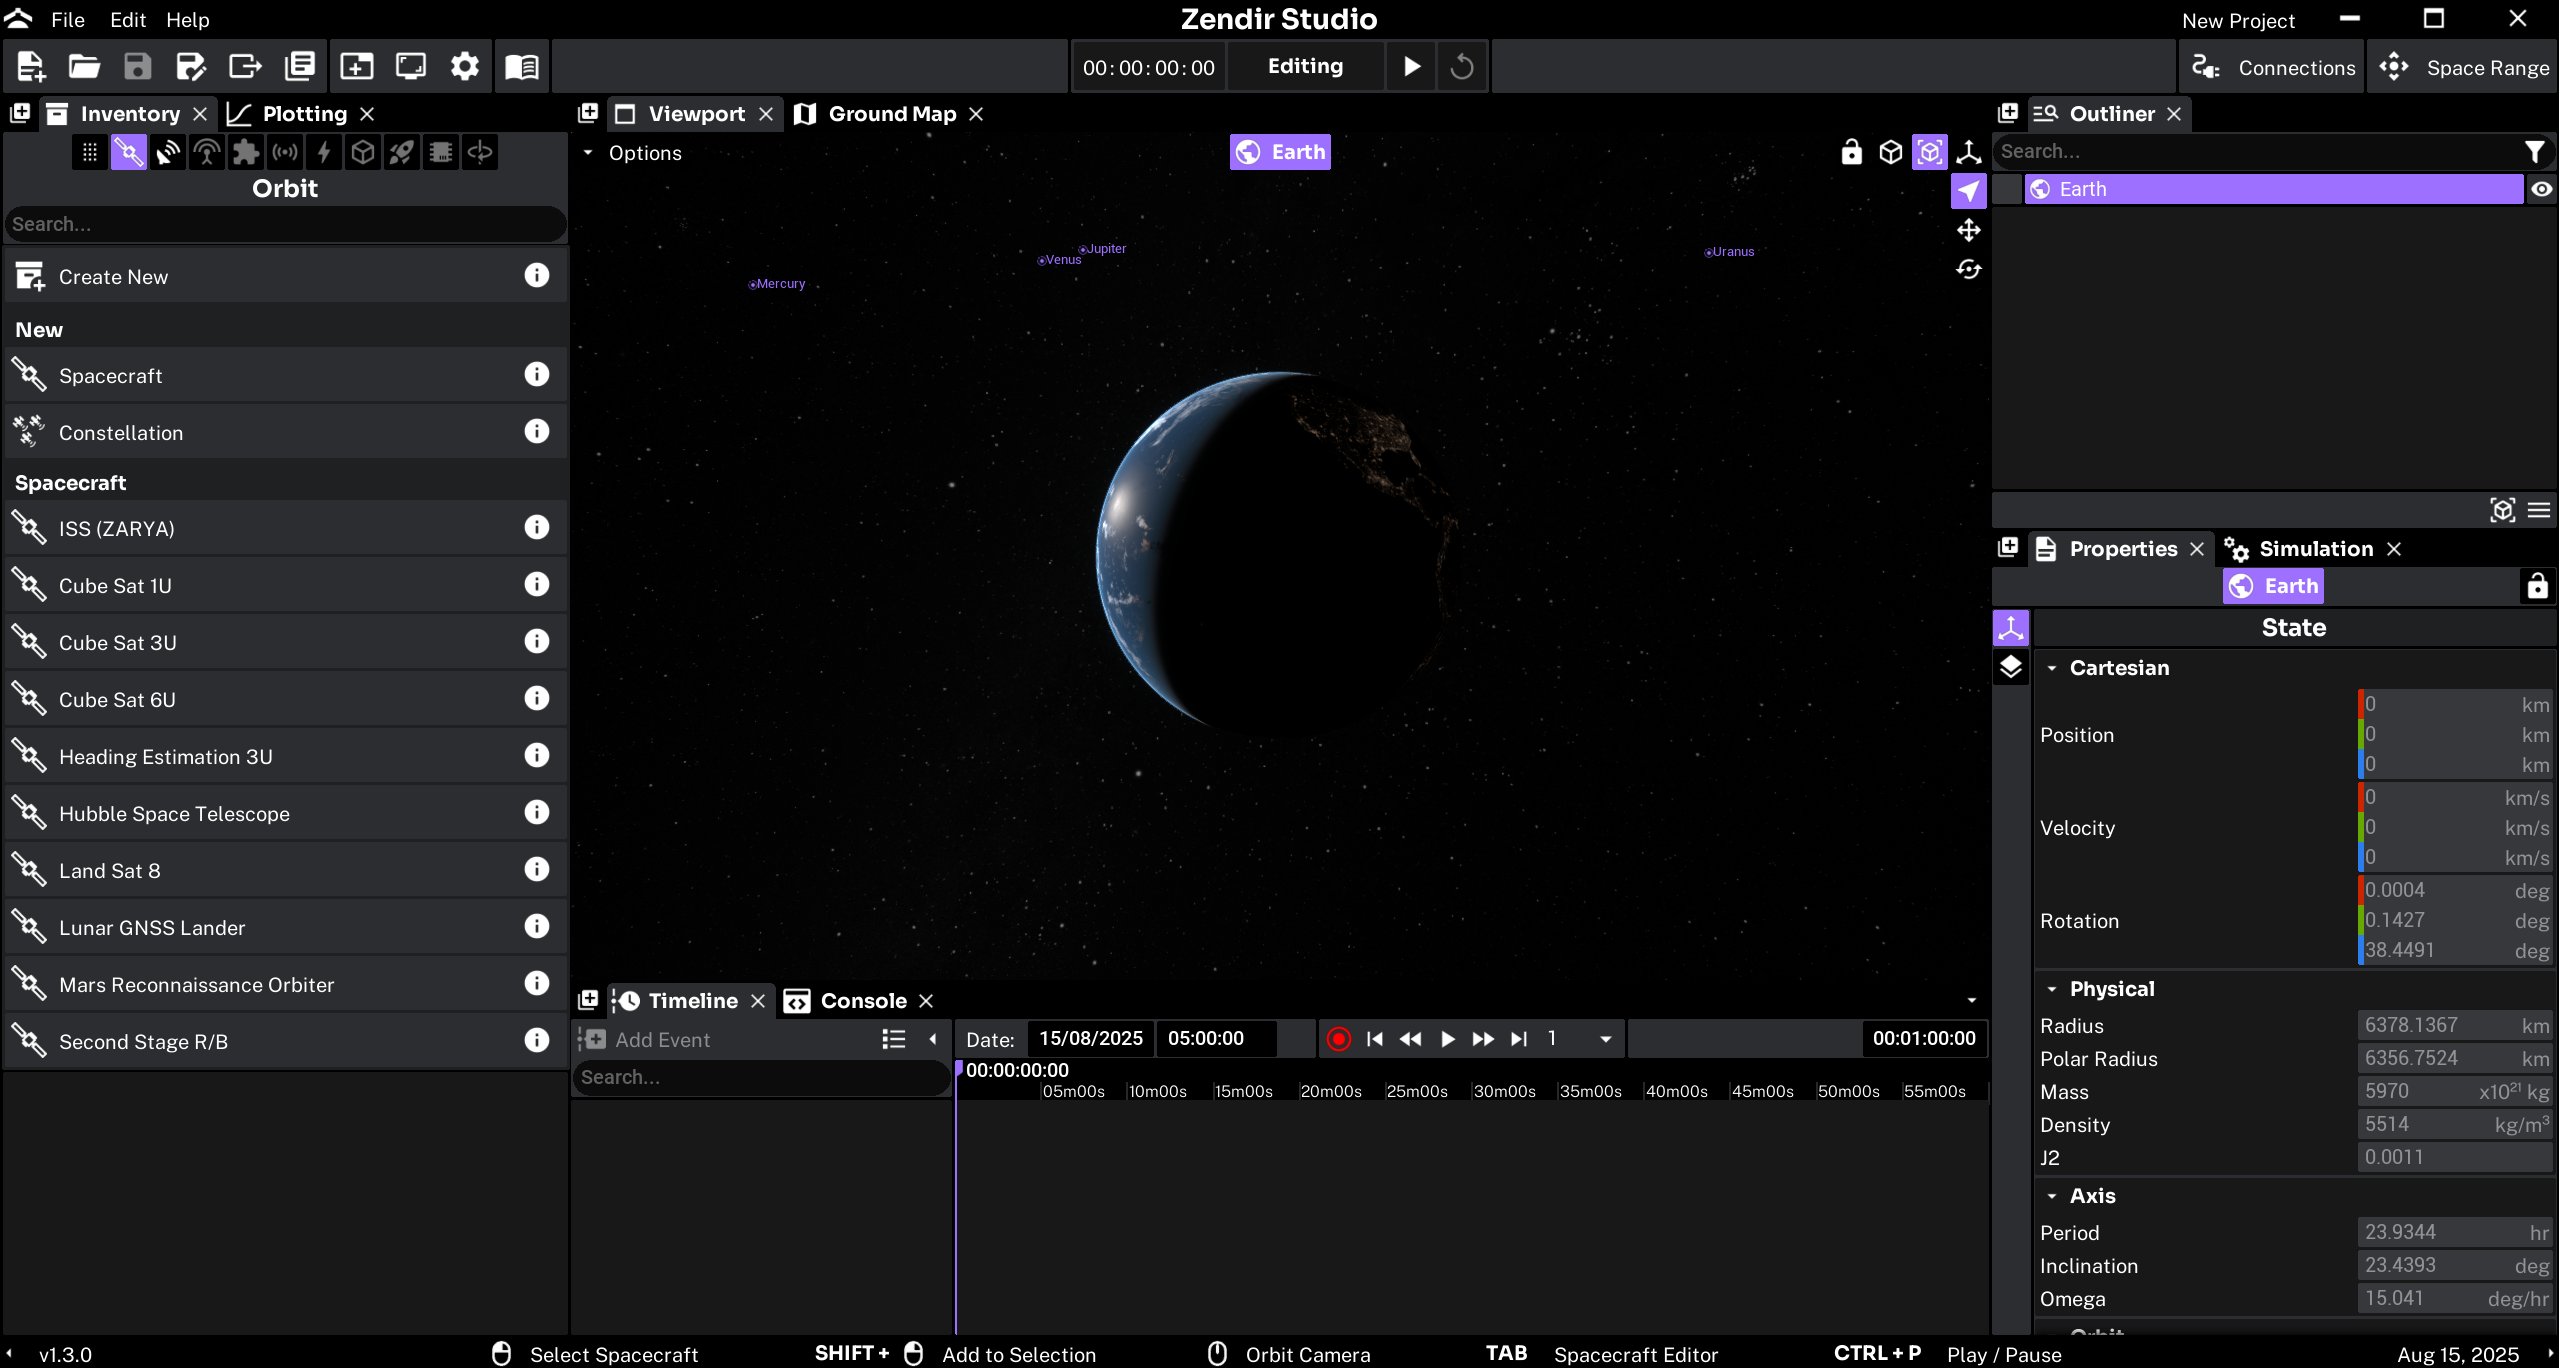
Zendir Studio will launch once it is authenticated successfully. The default Studio application window should be presented once ready: