Playing a Simulation
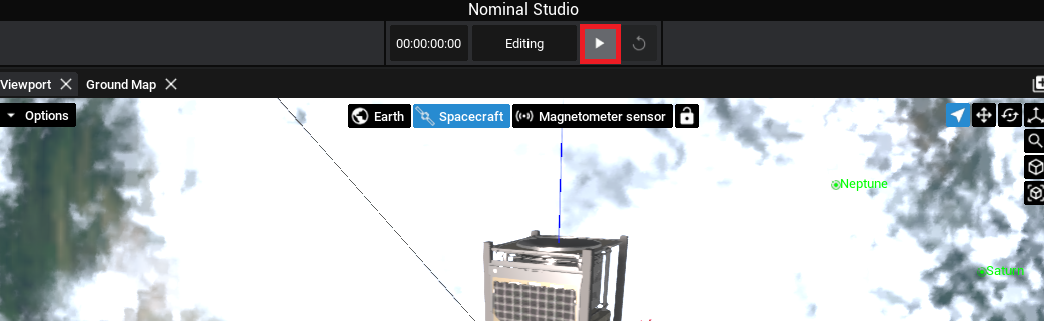
At the centre of the toolbar is the simulation status, currently in Edit Mode. To start simulating, hit the play button.
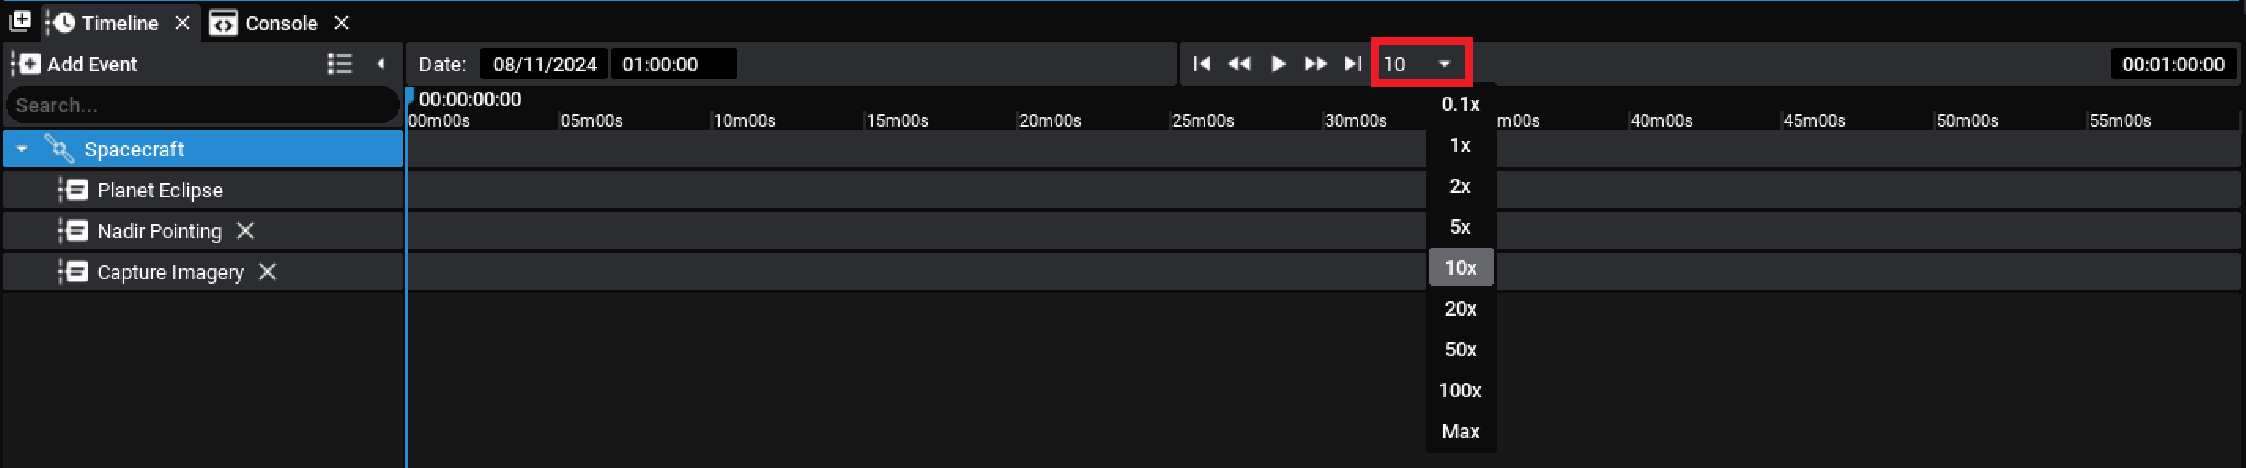
While the simulation is running, any events will be performed at the configured time and the plots will begin to update. To change the speed of the simulation, select the speed multiplier in the timeline panel and adjust it to 10x speed.
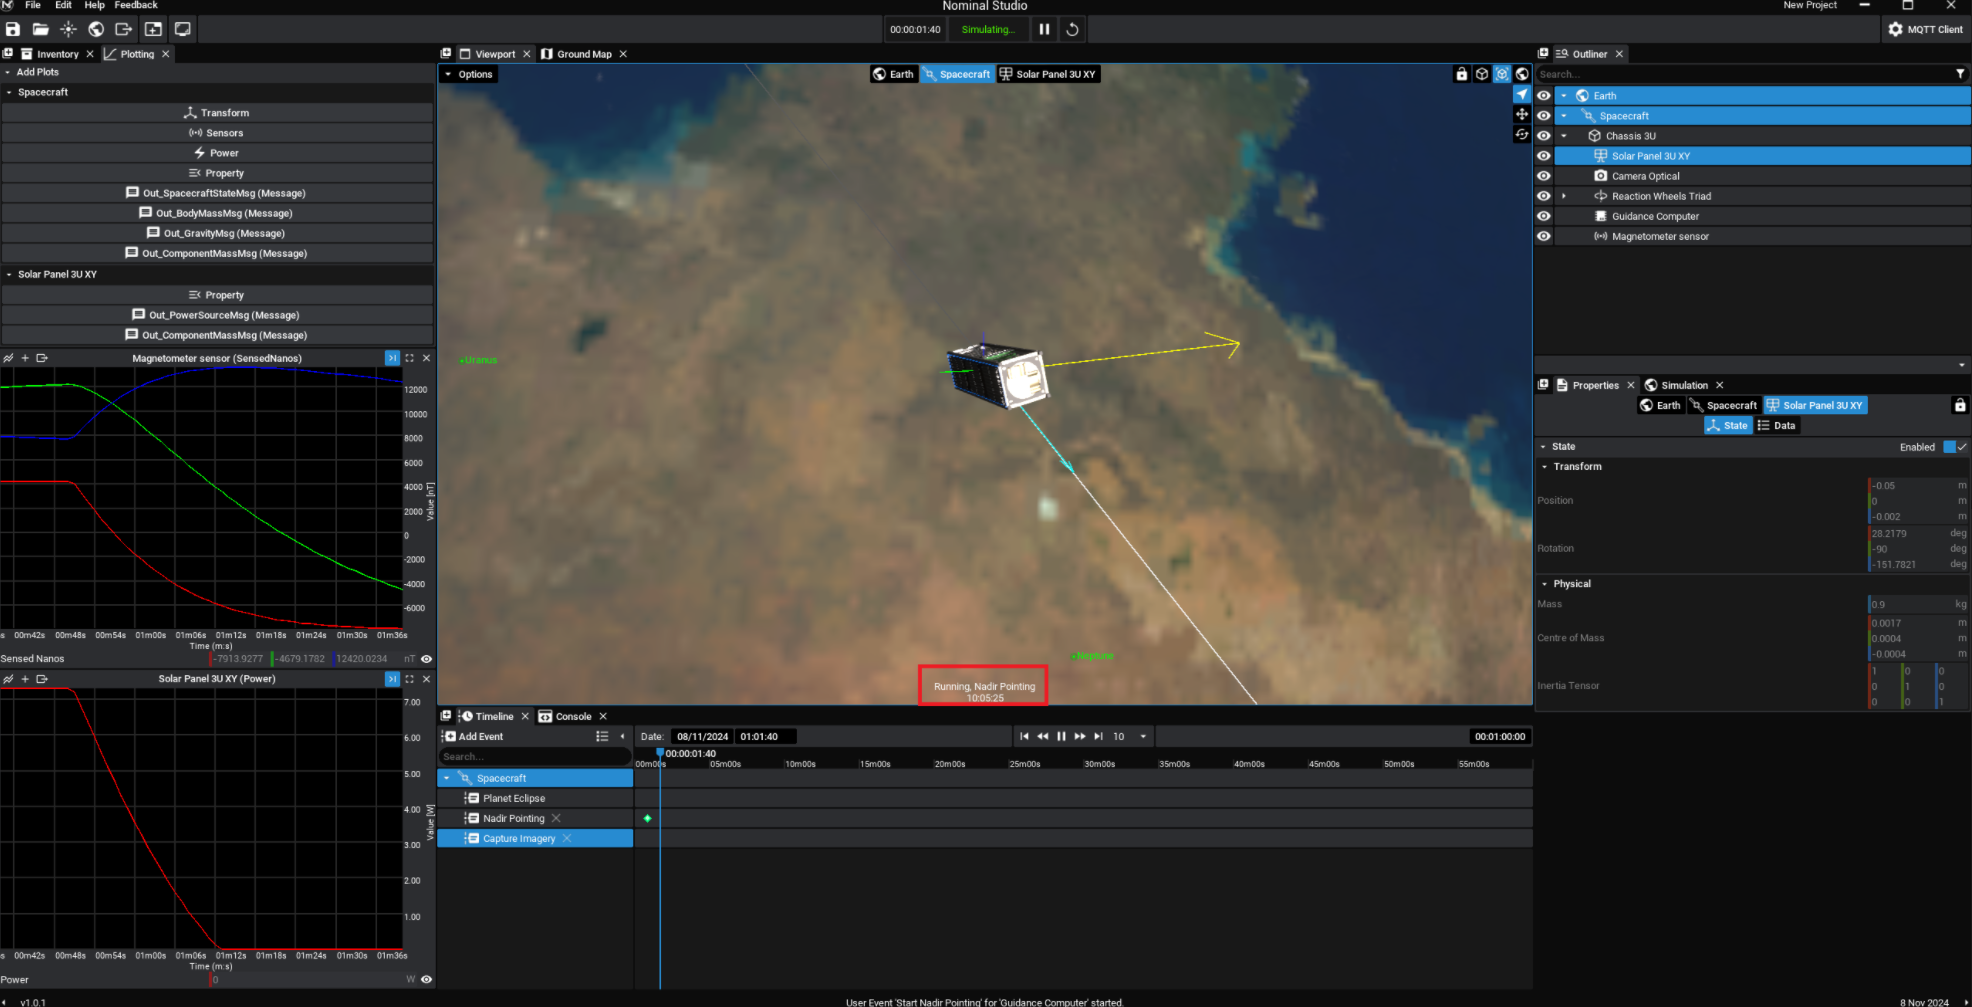
Once the timer hits 50 seconds of simulated time, the spacecraft will begin to point towards the ground. This can be seen in both the magnetometer reading and the solar panel power slowly changing. Additionally, the spacecraft information will show that it is now in Nadir Pointing.
Viewing the Camera Output
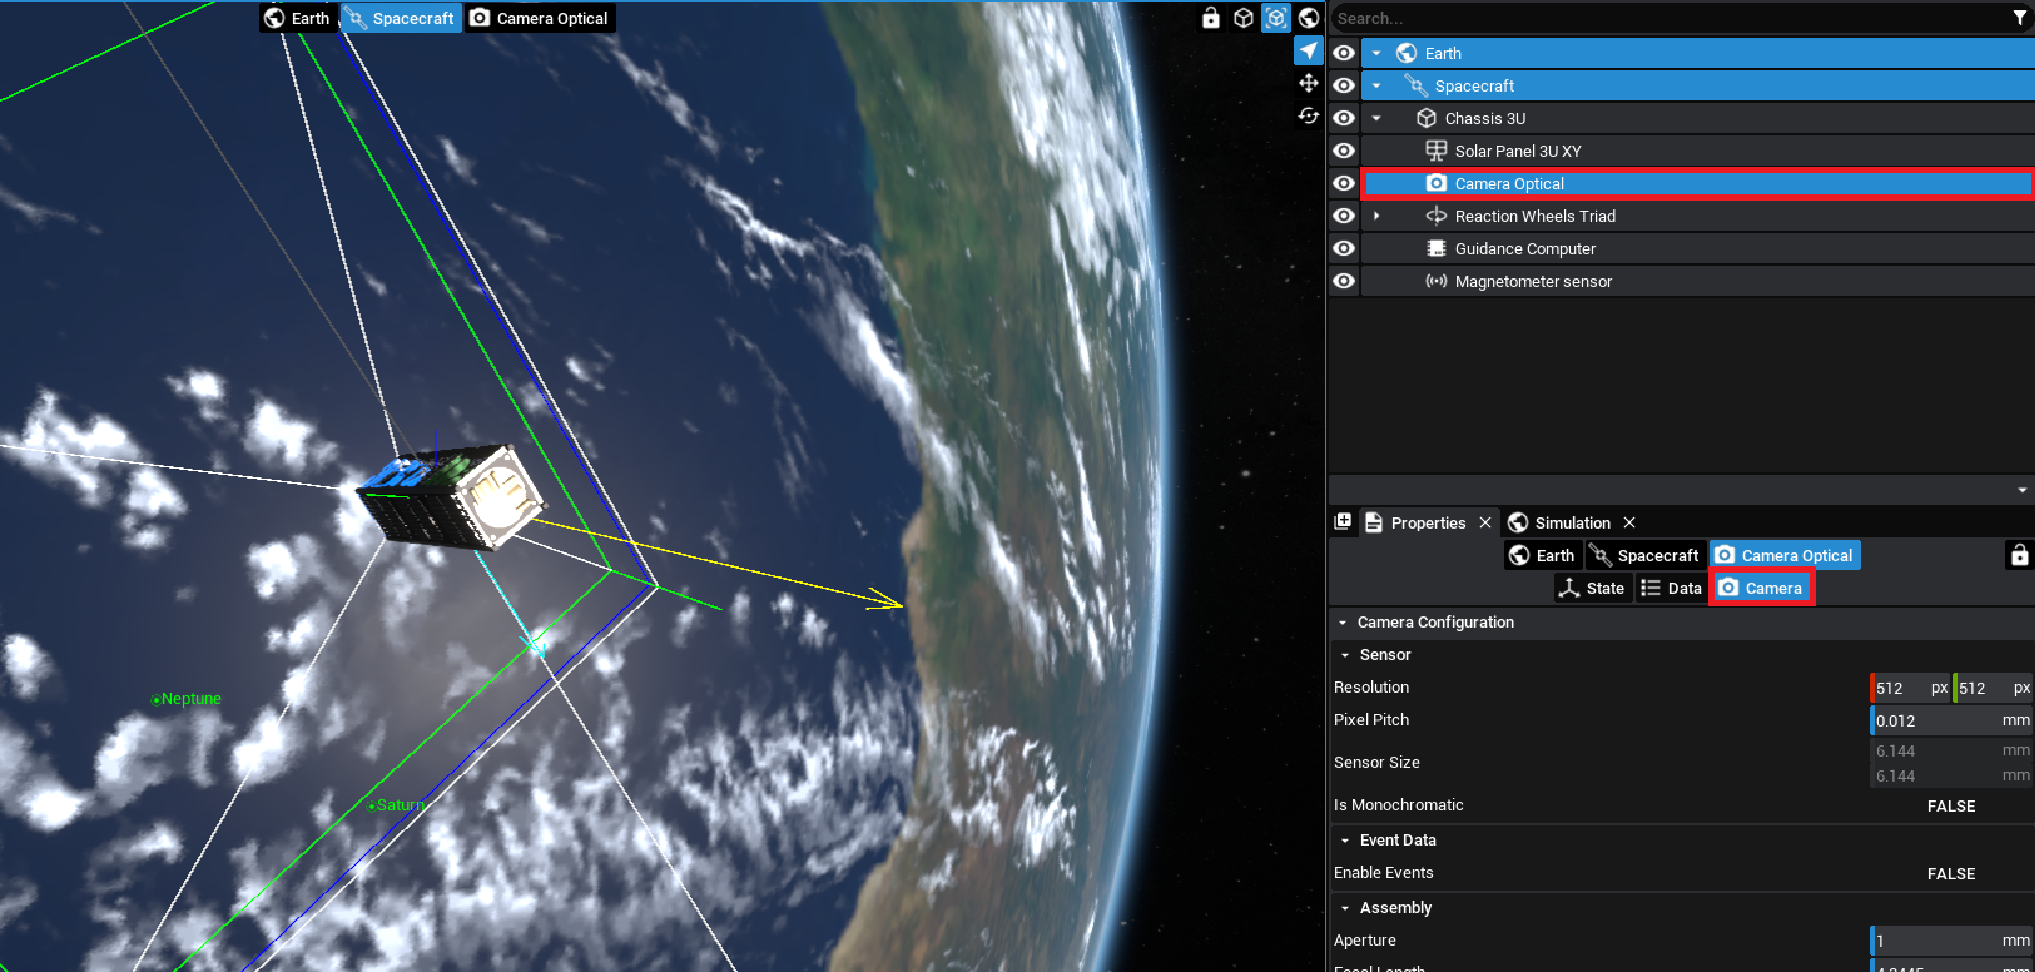
To view the imagery of the camera, select the camera component in the hierarchy and then in the Properties Panel select the Camera tab.
NOTE
For certain components, this tab is reserved for additional properties that may not be found in the
Datatab, which is the generic component properties tab.
This tab allows for changing the camera properties on the fly, including the aperture, focal length and resolution. However, clicking the Make Window button in the Viewfinder will show the camera view on a new window.
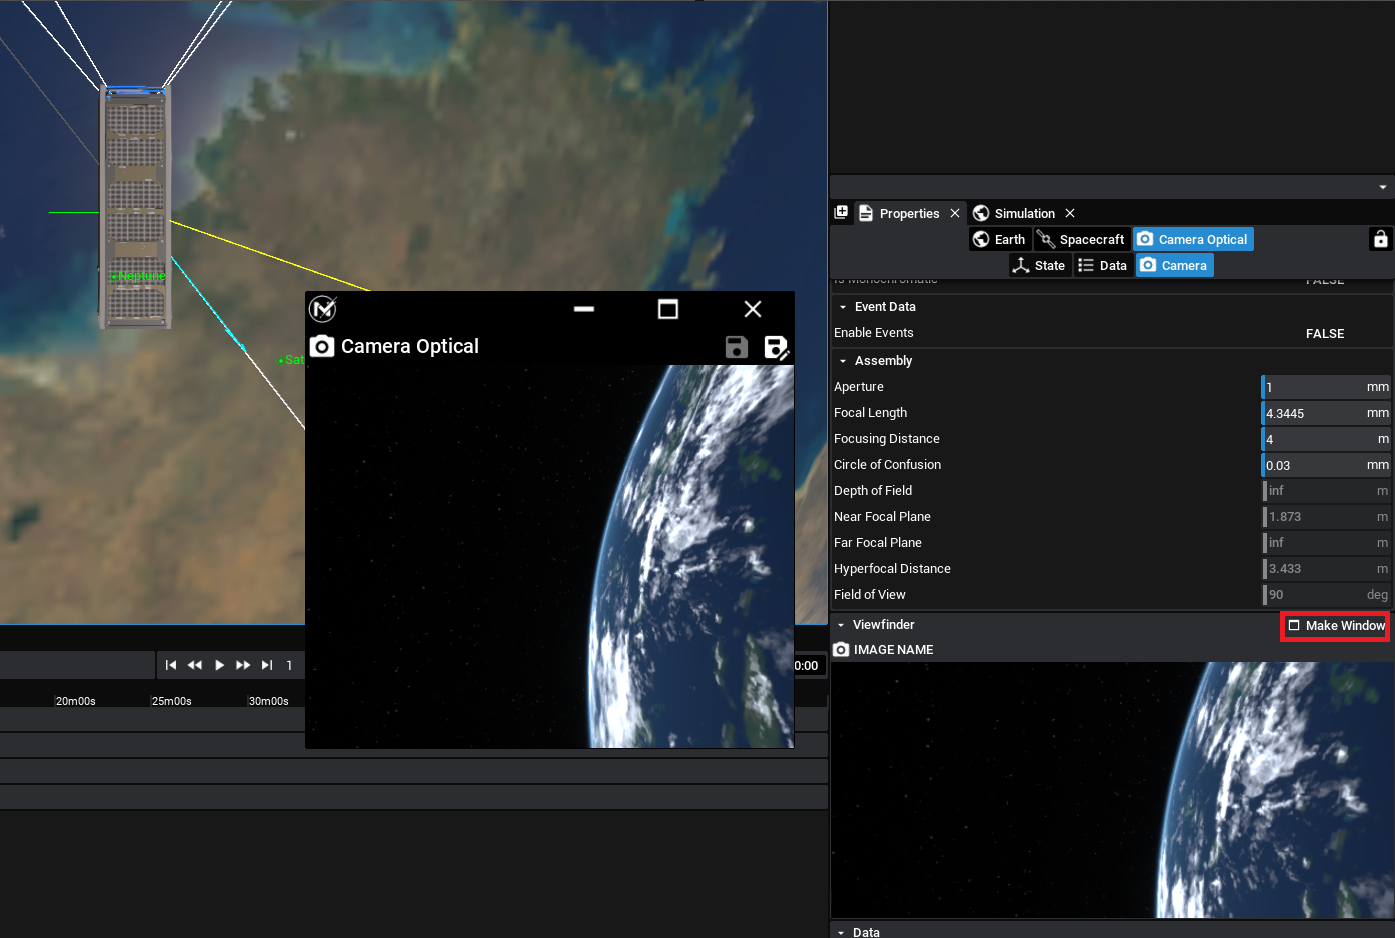
NOTE
The photo output can be seen in the ‘Saved’ folder inside the Zendir Studio application. Alternatively, selecting the save button on the window will allow the user to select an output location and name.
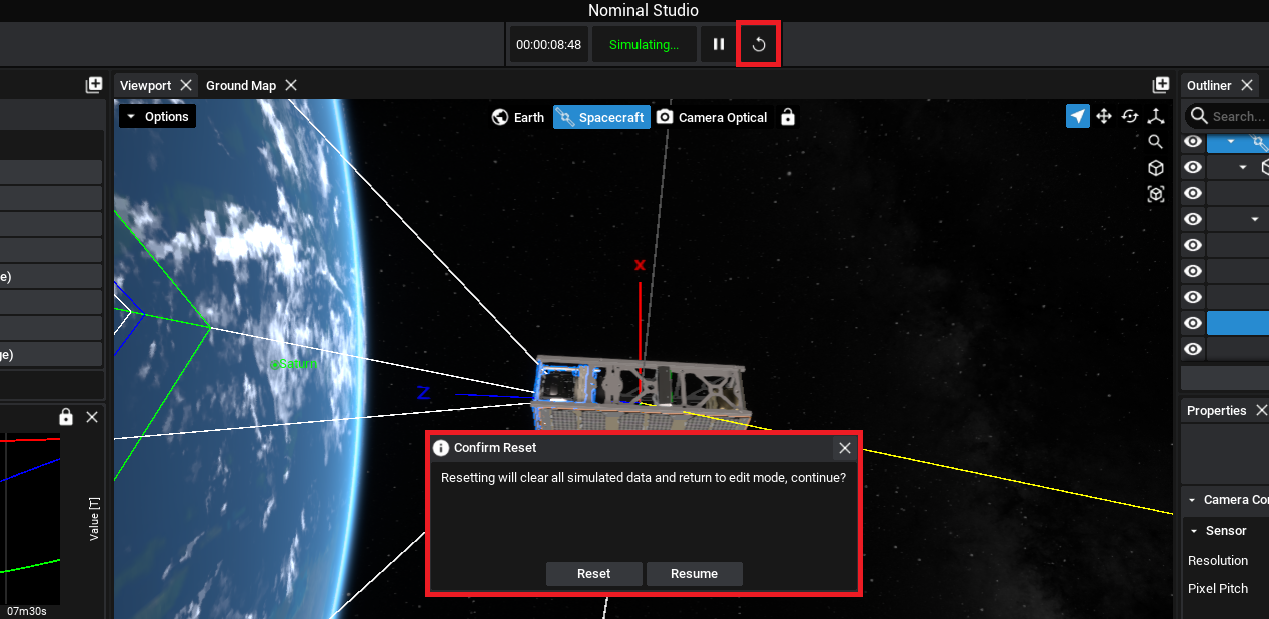
Restarting a Simulation
If any changes to the simulation need to be made, this can be done by stopping the simulation and editing the properties from the initial state. This will show a pop-up box that will prompt the user if the scenario can be reloaded.
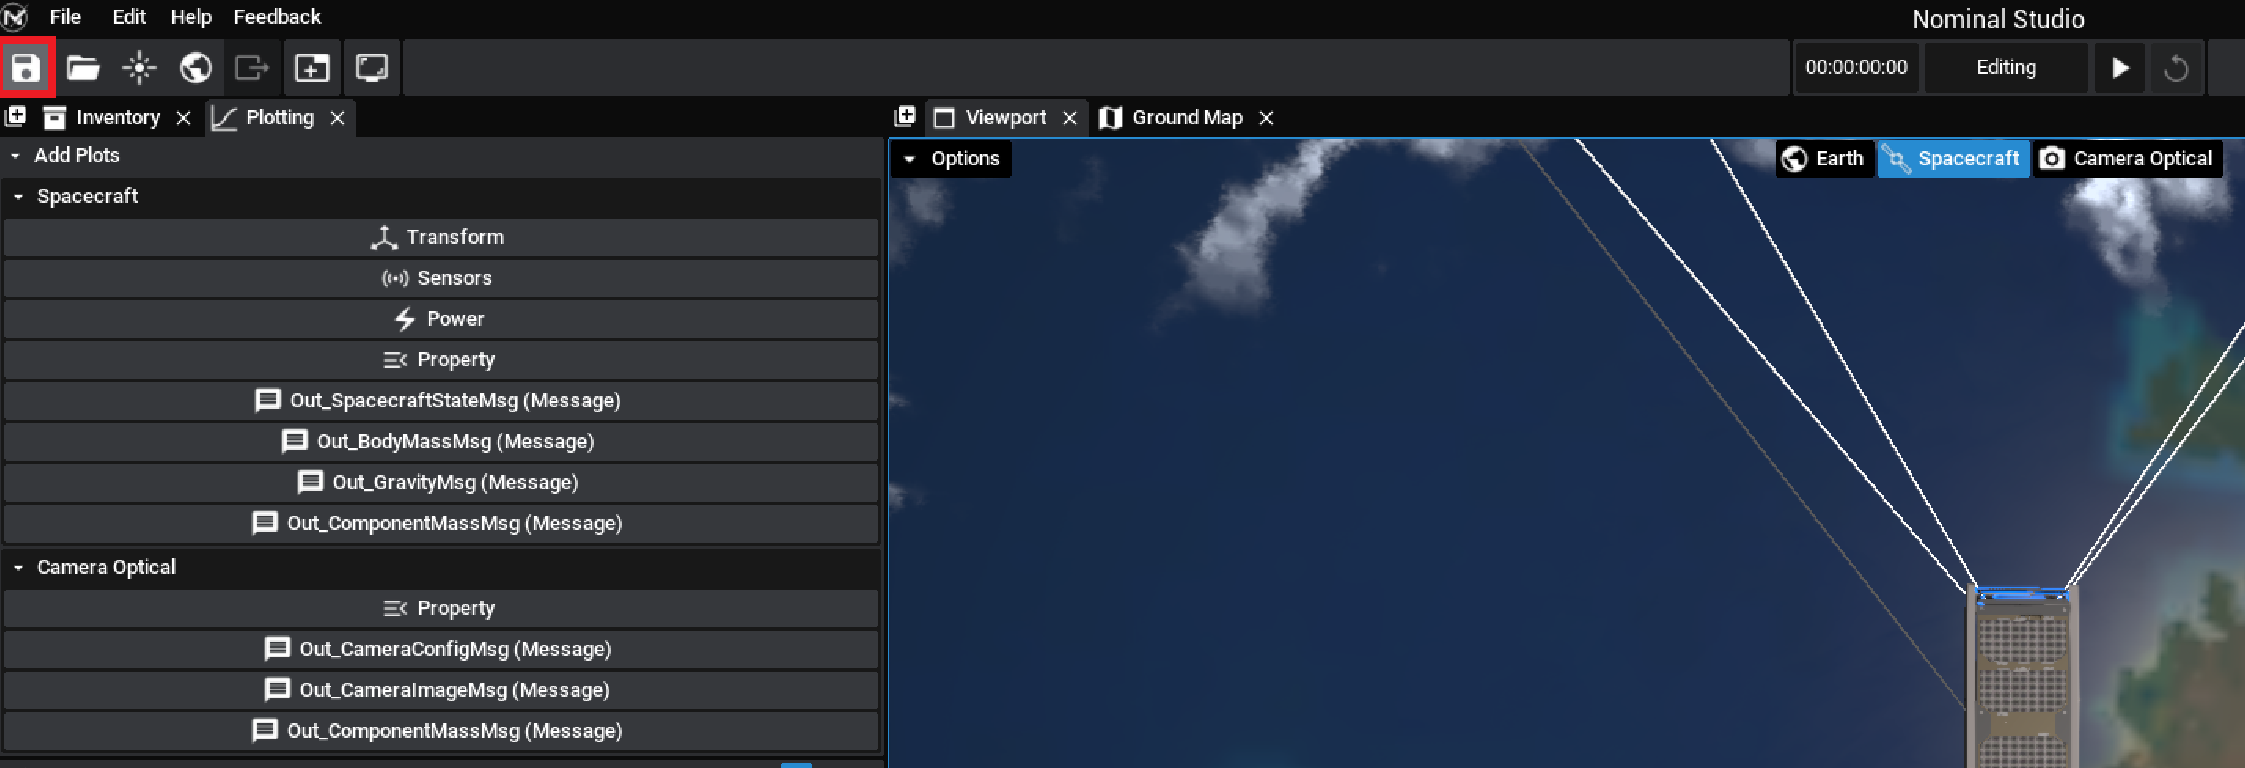
Saving a Scenario
All scenarios can be saved and loaded later. These will be saved in the form of .ns files and will store everything from the components added to the simulation settings. To save a file, click on the save icon in the top-right of the application and save it to a particular directory.
WARNING
Files can be saved during the middle of the simulation. However, files saved in this way will include the database file for the simulation. These files may be large. It is recommended that a typical save should be made when the simulation is reset back to zero seconds by clicking the reset button.