
After you sign in, Zendir Studio opens on the home screen. This is the launcher for every simulation you own, anything shared with you, and the built-in Library. You do not land in the editor until you load a simulation.
Starting from an Empty Workspace
If you have not created or imported anything yet, My Simulations shows an empty table and a quick-start panel. Simulations you save later will appear in this table.
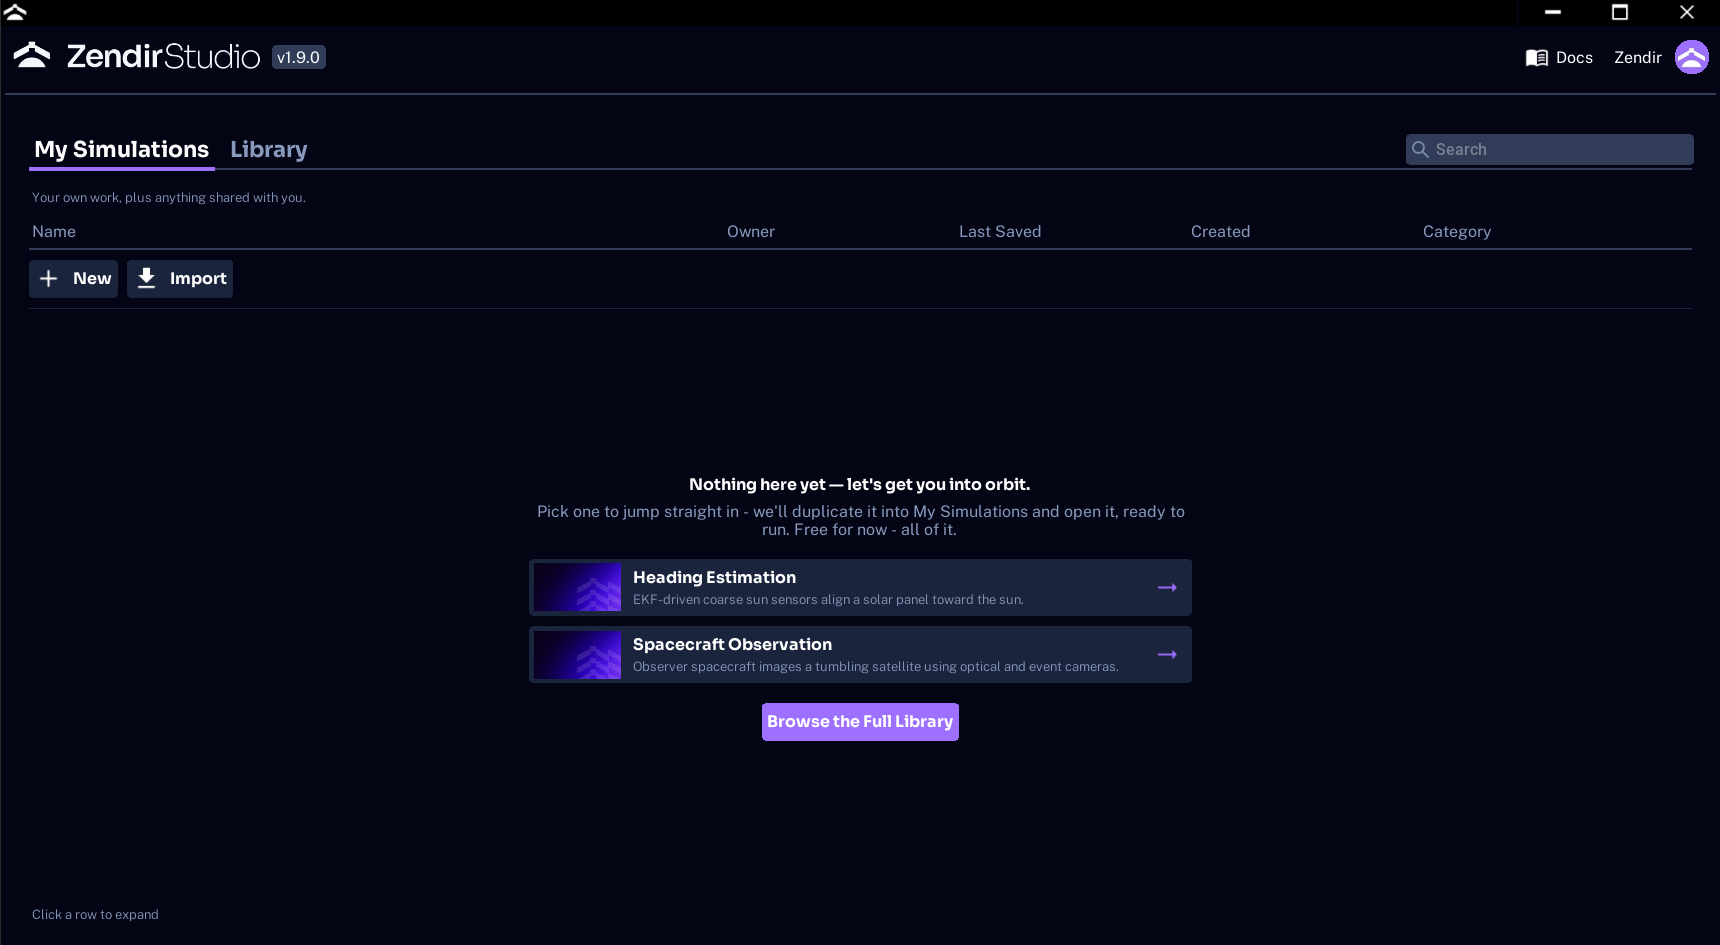
By default, two Library simulations are offered as featured cards. Selecting a card duplicates that Library simulation into My Simulations and opens the copy, ready to run.
Two featured cards appear by default:
Heading Estimation: EKF-driven coarse sun sensors align a solar panel toward the sun.Spacecraft Observation: Observer spacecraft images a tumbling satellite using optical and event cameras.
Select Browse the Full Library to open the Library tab.
NOTE
Featured cards are a shortcut into the Library. They do not replace the full catalog.
Browsing My Simulations
My Simulations lists work you created, copies you took from the Library, files you imported, and simulations other people have shared with you.
Use the controls above the table:
Newcreates a blank simulation and opens the editor.Importloads a.zensave file into this list.Searchfilters files by name, category, or description.Allshows every simulation you can access.Starredshows only simulations you have starred.
Each row shows a thumbnail, Name, Owner, Last Saved, Created, and Category tags such as Computer, Propulsion, Power, and Sensors.
Select the star beside a simulation name to include it under Starred.
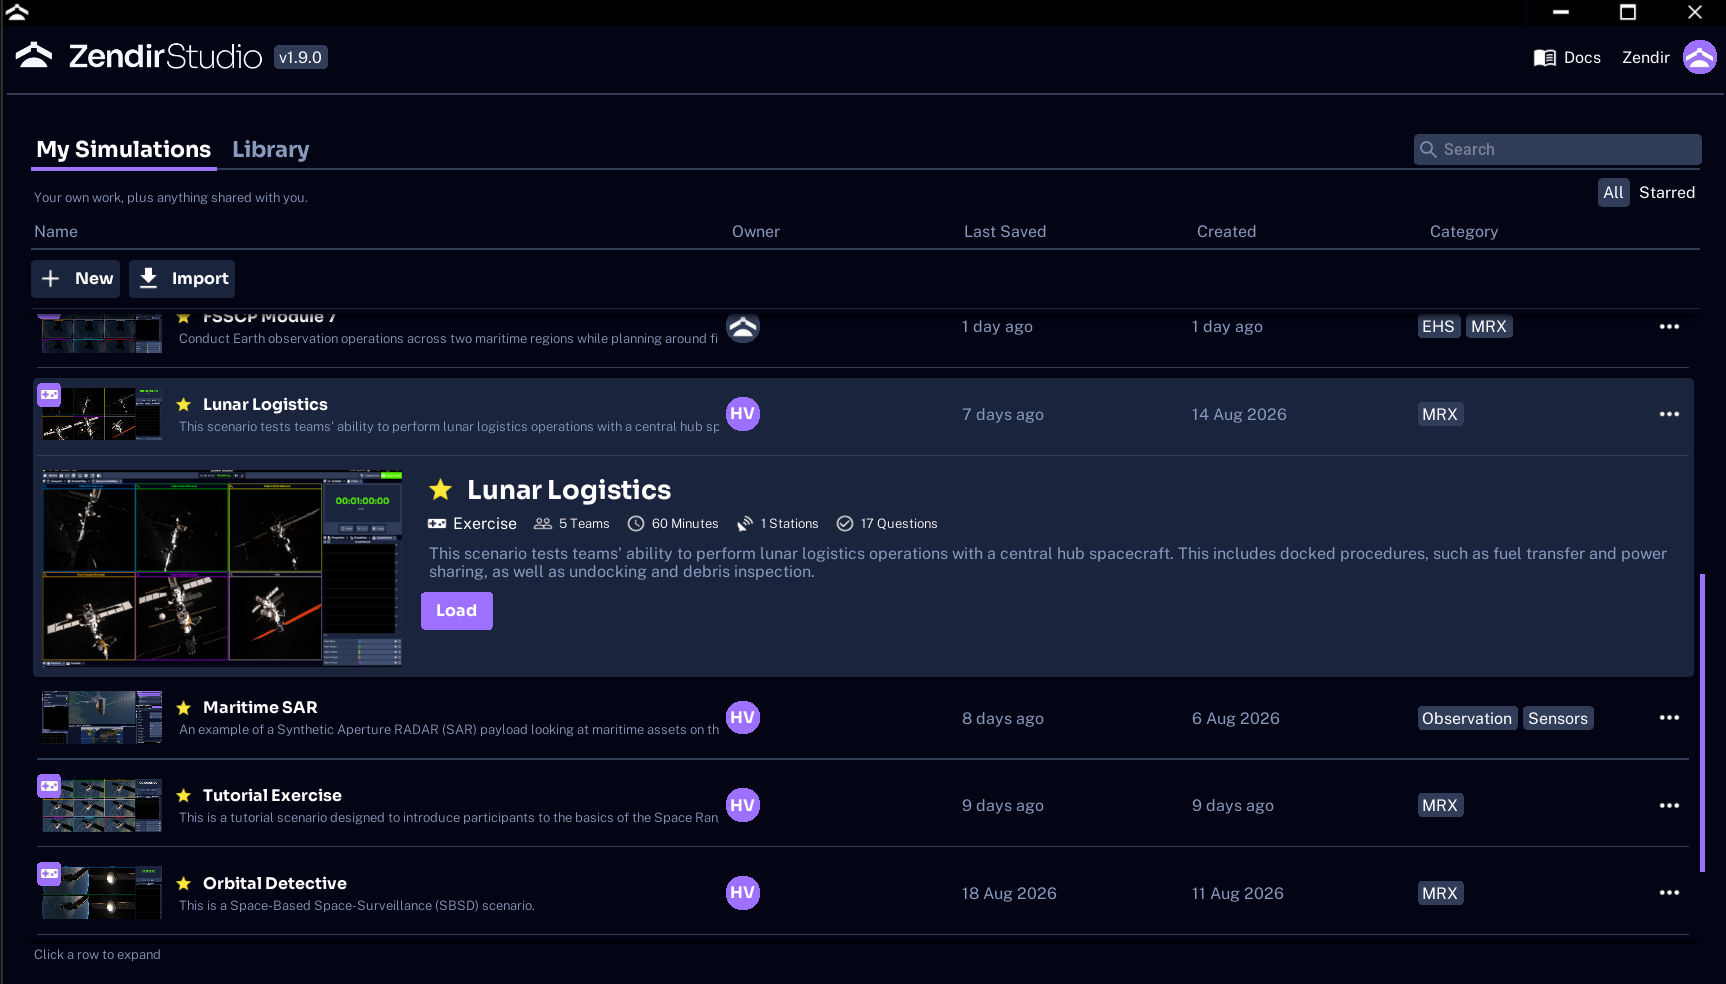
Select a row to expand it. The expanded row shows a longer description, a preview image, and a Load button. Select Load to open the simulation in Studio.
NOTE
Space Range exercises include additional metadata such as team count, duration, station count, and question count.
After the simulation opens, use User Interface to identify the panels, then follow Running a Simulation to play, pause, and reset it.
Open the overflow menu on the right of a row to Rename, change the Description or Categories, Delete, Duplicate, or Export the simulation.
Using the Library
The Library tab lists simulations built and shipped by Zendir. Use them to explore a working spacecraft before assembling one from scratch. Each simulation demonstrates a Studio capability, such as constellation management, power systems, or ground telecommunications networks.
The catalog includes examples such as Heading Estimation, Spacecraft Observation, Fuel Maneuver, Power Systems, and Telemetry Downlink. New releases may add or rename examples. If a name in the product differs from this page, follow the product.
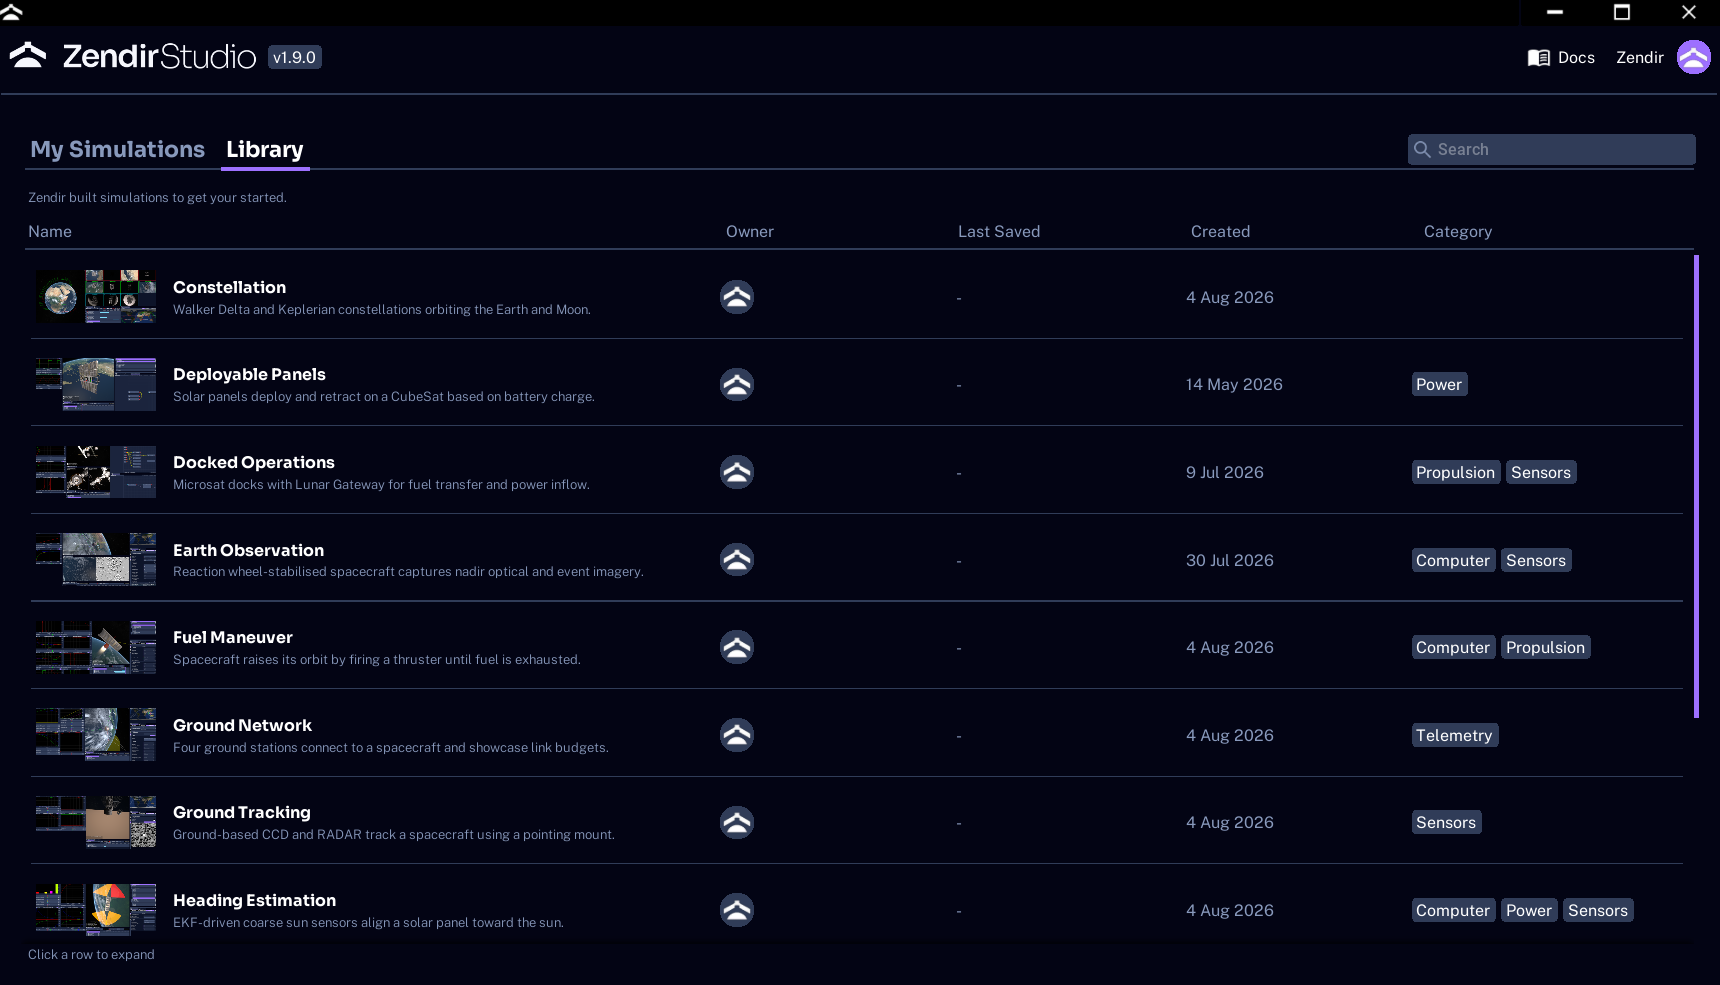
Select a row to expand it, read the description, then press Load. Studio copies the example into My Simulations and opens that copy. The original Library entry stays read-only in the catalog.
WARNING
Loading from the Library does not open the shared original for editing. You always get a personal copy. Saving that copy will not change the catalog for other users.
Creating a New Simulation
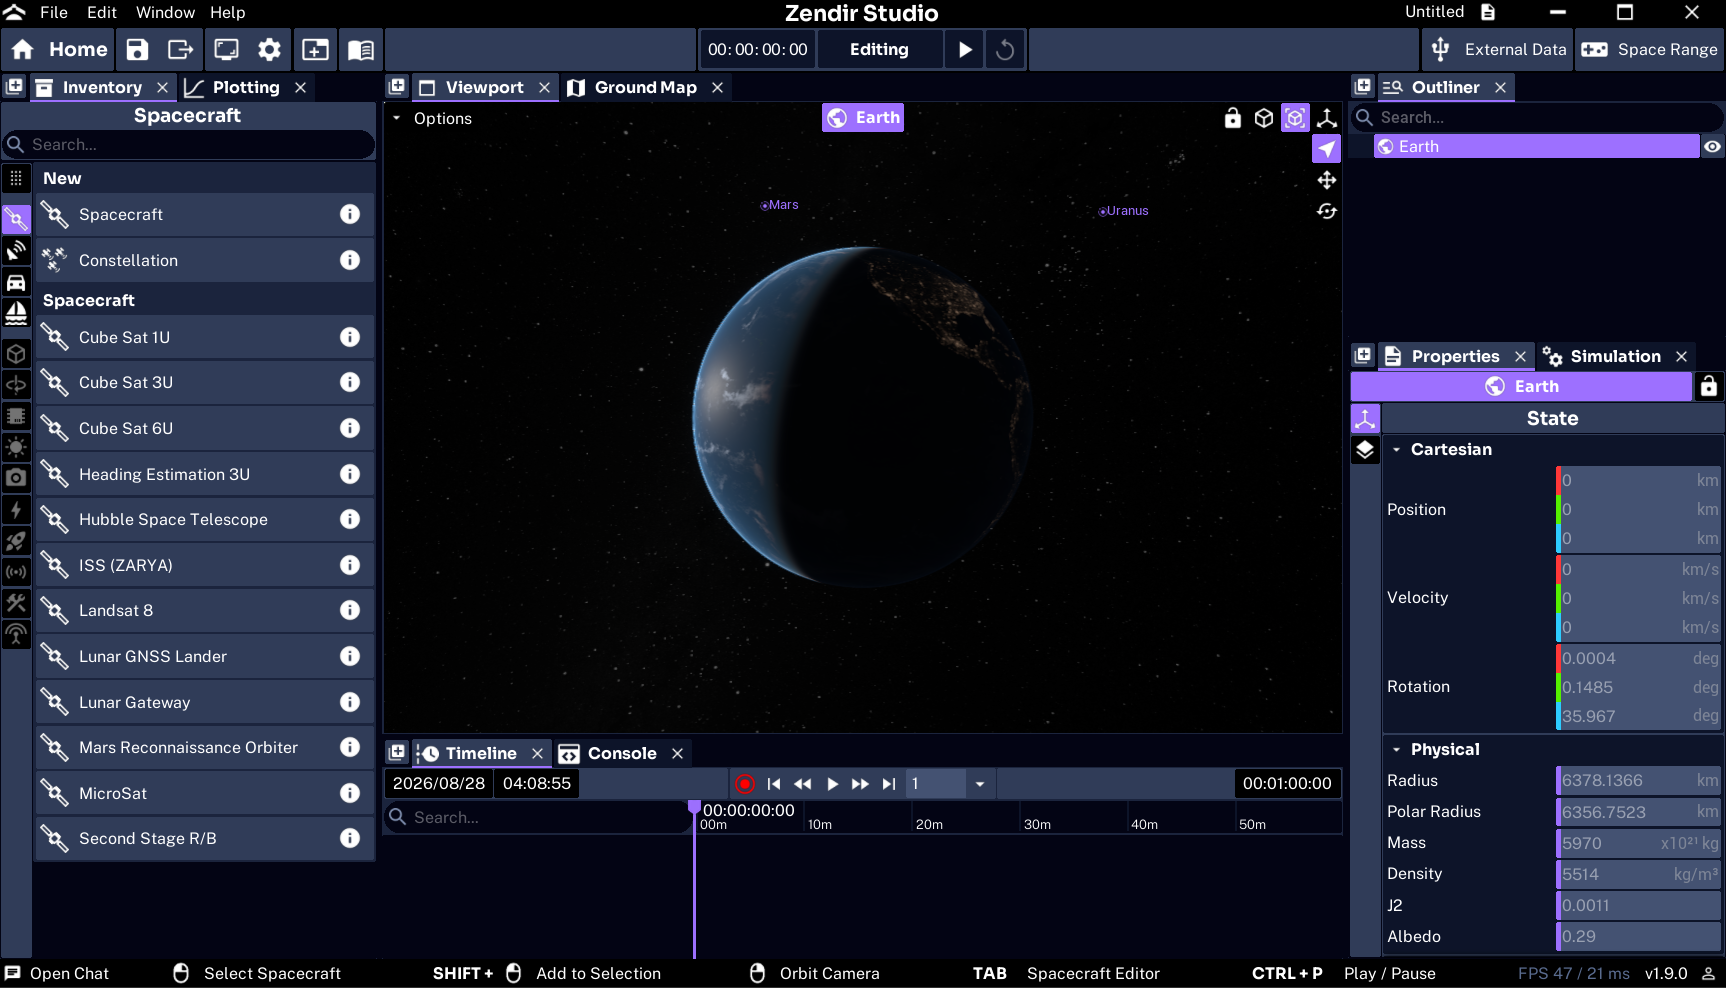
On My Simulations, select New. Studio will create an empty simulation and open it.
From there, you can add spacecraft and components. Follow Spacecraft Simulation for the first build walkthrough.
Importing a Save File
On My Simulations, select Import to add an existing .zen file to the list. Use this when a colleague shares a simulation or when you are hosting a Space Range scenario that already exists as a file.
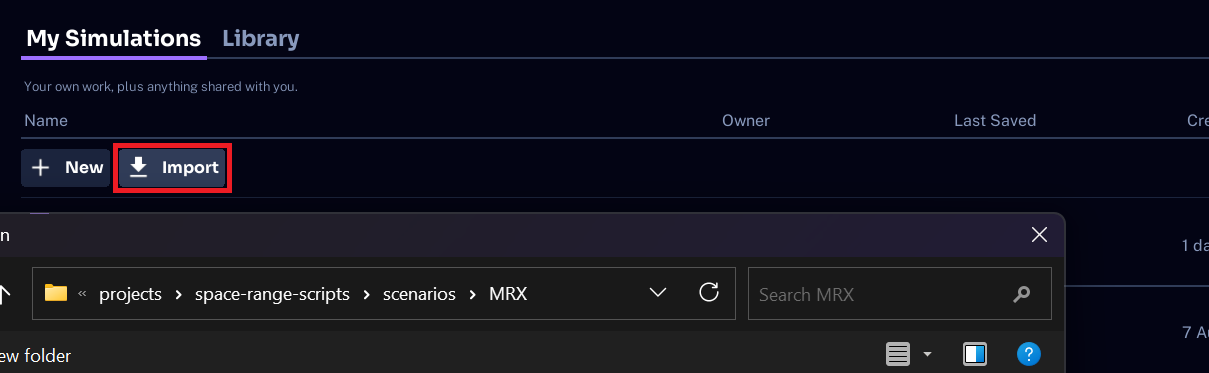
After the import finishes, the simulation appears in the My Simulations table. Expand the row and press Load to open it.
WARNING
A
.zenfile saved by a newer version of Studio cannot be imported into an older one. Files from older versions load normally. See Save Files for what a.zenfile contains.
Facilitators who are importing a training scenario next should follow Hosting a Session.
Top Bar
The top bar shows product and account information.
- Product Version: The current version of the product. Clicking on the version button will show the Release Log for this version.
- Docs: Open the documentation in a browser.
- Preferences: Opens up the Studio Preferences in a new window.
- Account: Confirm the signed-in email and profile initials.