
Studio does not write your work to My Simulations until you save it. New projects start unnamed so you can choose a name. After the first successful save, the project appears under My Simulations on the Home Screen.
This is not the built-in Library tab. That catalog stays read-only. Your saved copies never replace Zendir’s examples.

Naming and Saving
Select the save control in the Toolbar Panel, or use File → Save. Enter a name when Studio prompts for one. After saving, the home screen row will use that name and Last Saved will update.
To keep the current project and create a second copy, use File → Save As and enter a new name. Studio will add the copy to My Simulations and continue working in that copy.
NOTE
To create a file that can be sent to someone else, continue to Exporting a Simulation.
Handling Unsaved Changes
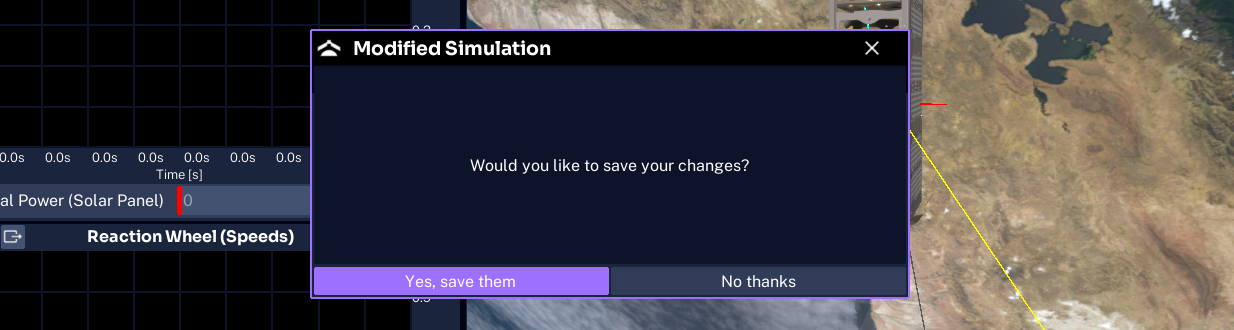
Studio tracks changes made after the last save. If you return to the Home Screen or quit Studio with unsaved changes, Studio will prompt you to save them.
Discarding the changes removes all work performed since the last save. Save before continuing if you need to keep that work.
Configuring Auto-Save
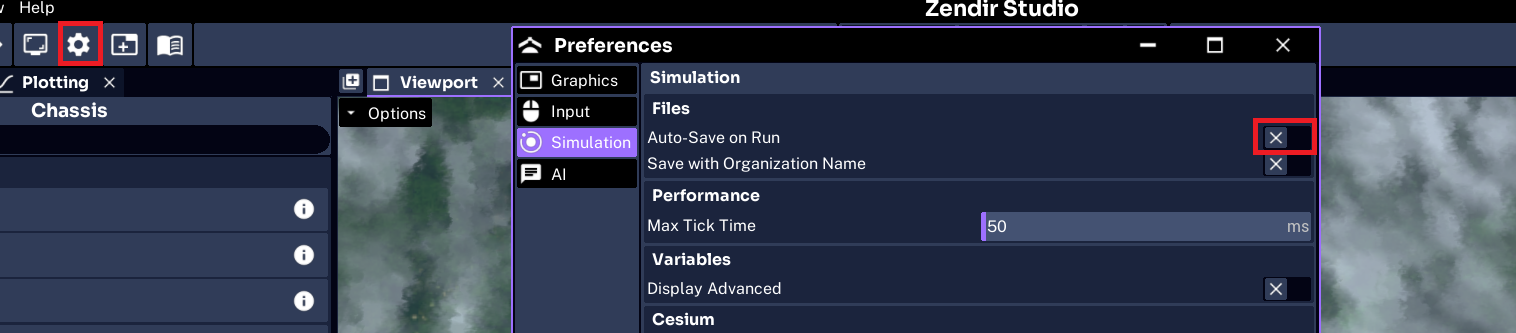
Saving is not automatic by default. To save whenever a simulation starts, enable Auto-Save on Run in Studio Preferences. When this option is enabled, selecting play writes the current project to My Simulations.
WARNING
Enabling
Auto-Save on Runmeans every play will overwrite the stored project. When the option is disabled, Studio creates a hidden recovery snapshot instead. A recovery snapshot does not appear as a named simulation on the Home Screen.