
Start with the .zen file supplied by the scenario author. Importing the file creates the Studio project. Connecting Space Range makes that project available to Operator clients.
1. Open Studio
Launch Zendir Studio and sign in if prompted.
If Studio is not installed, follow Installing Studio first.
2. Import the .zen file
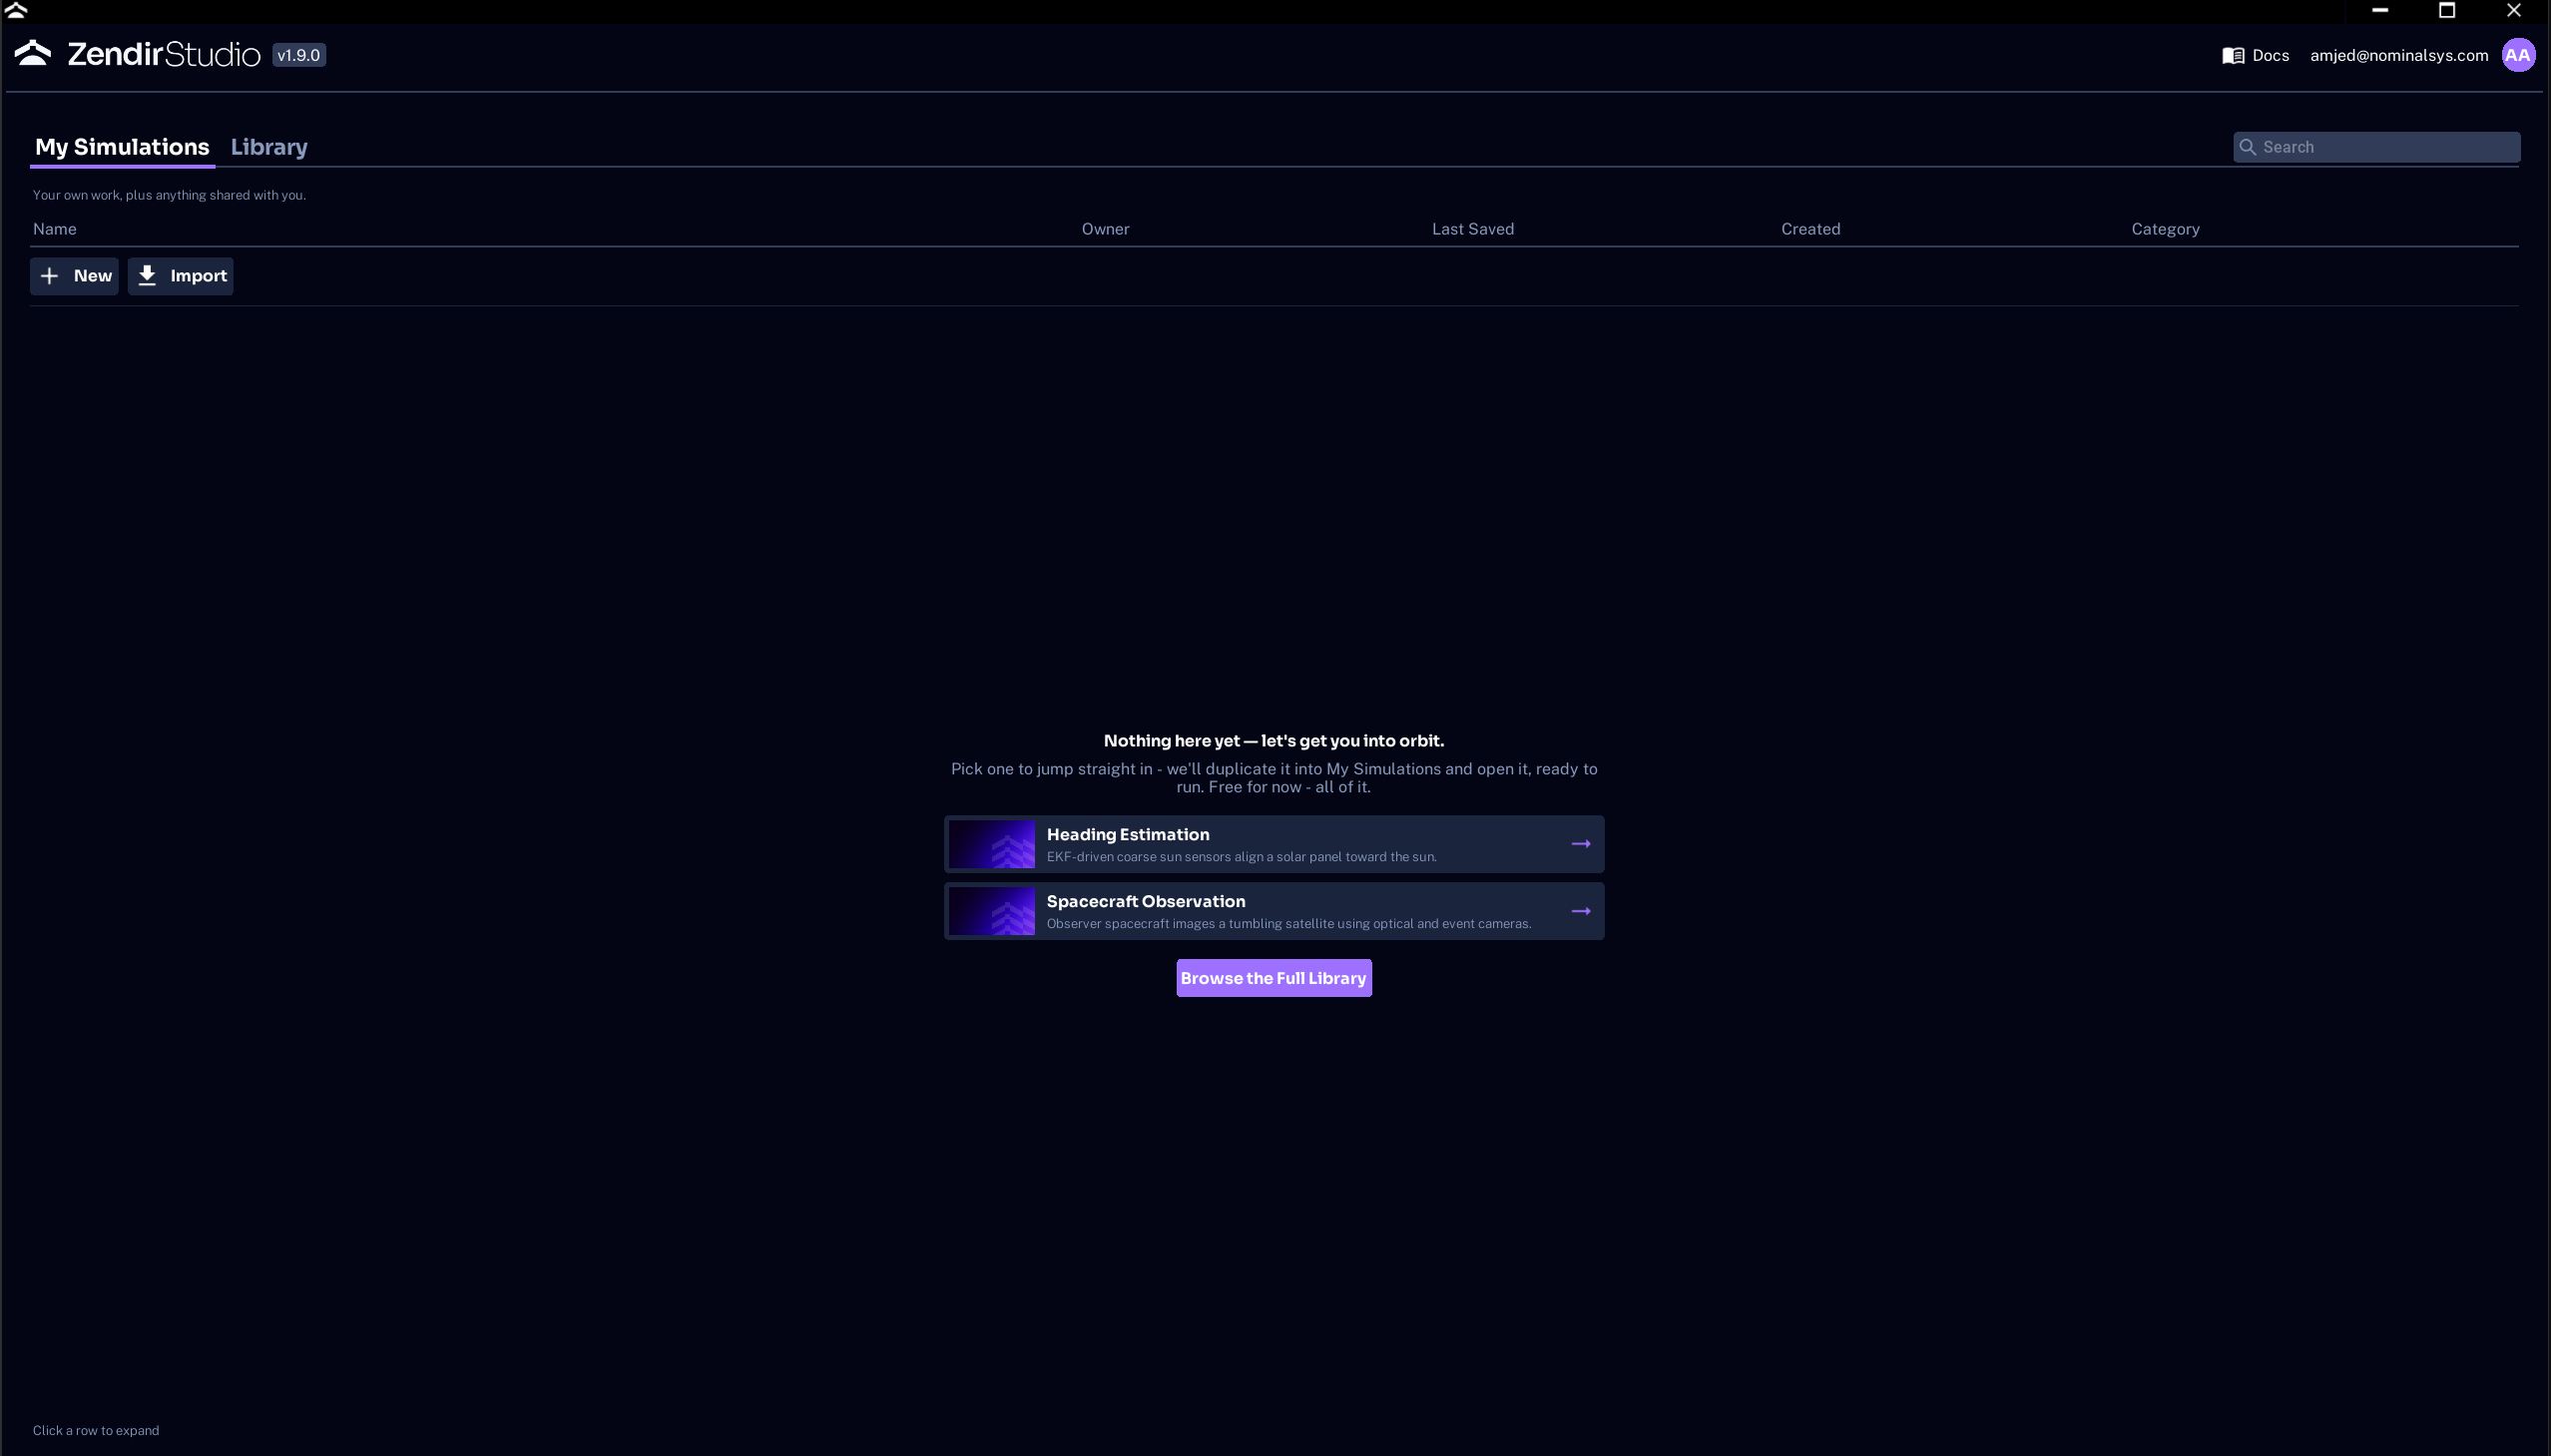
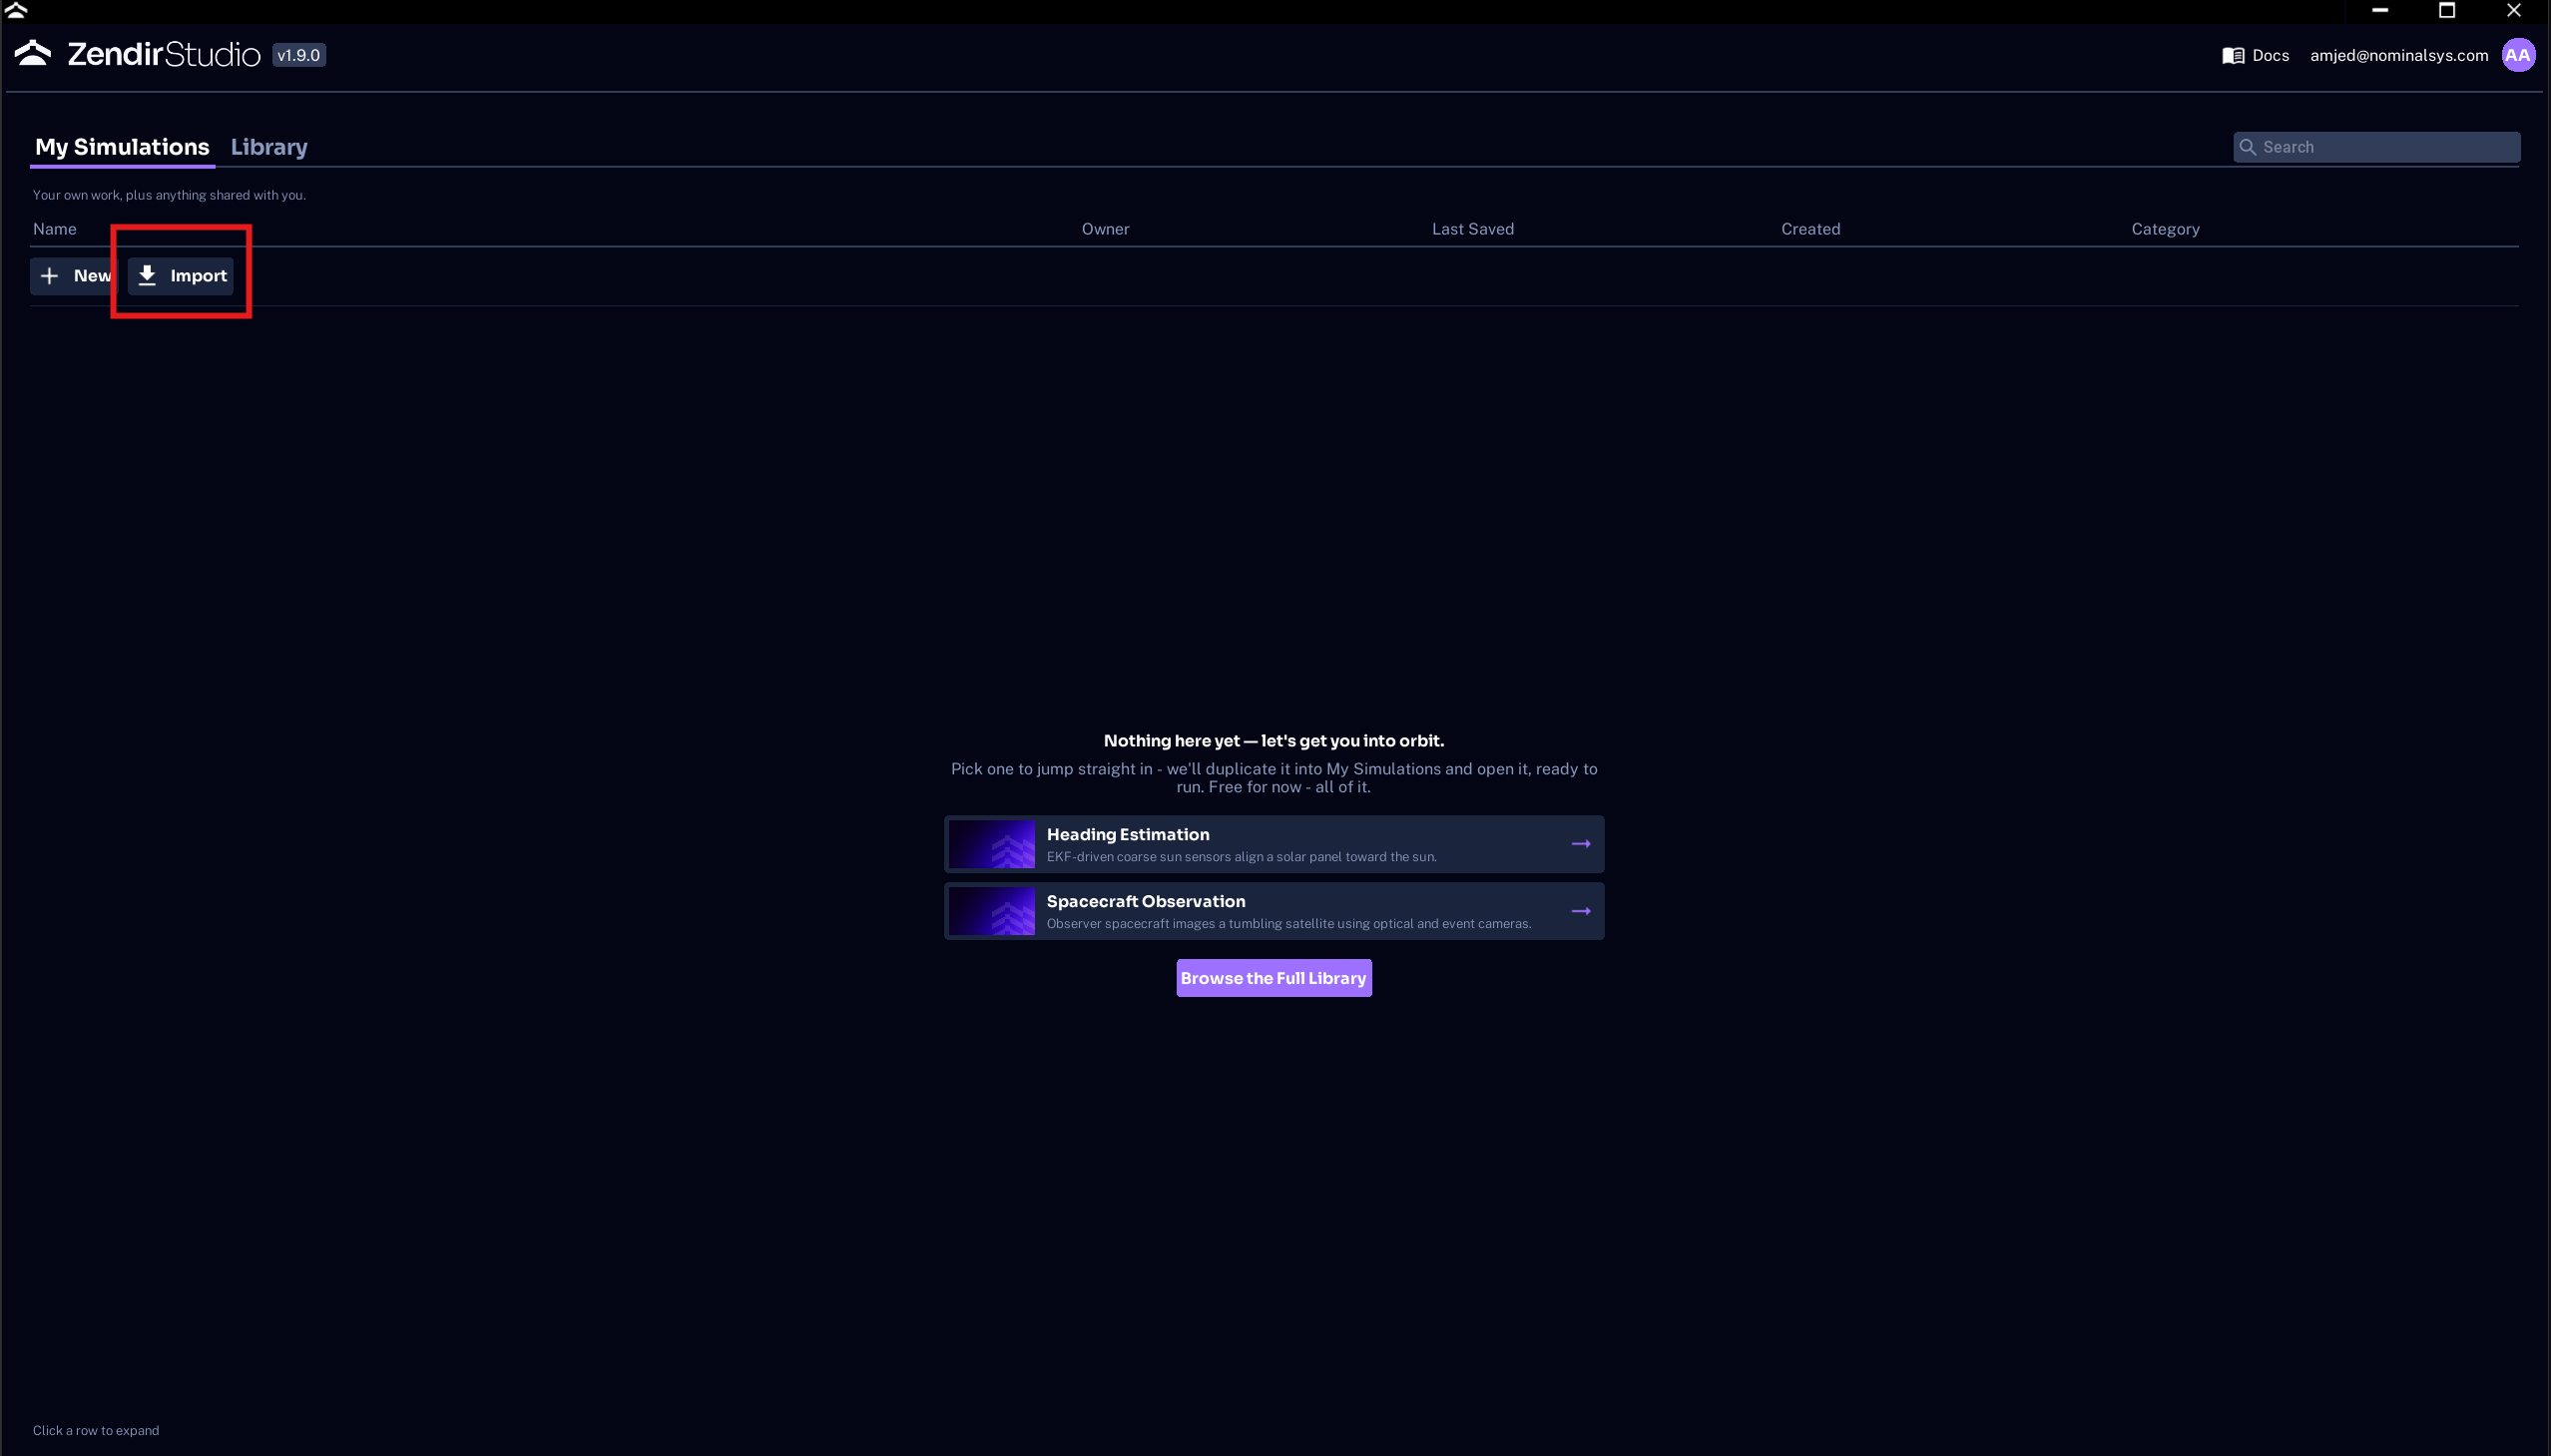
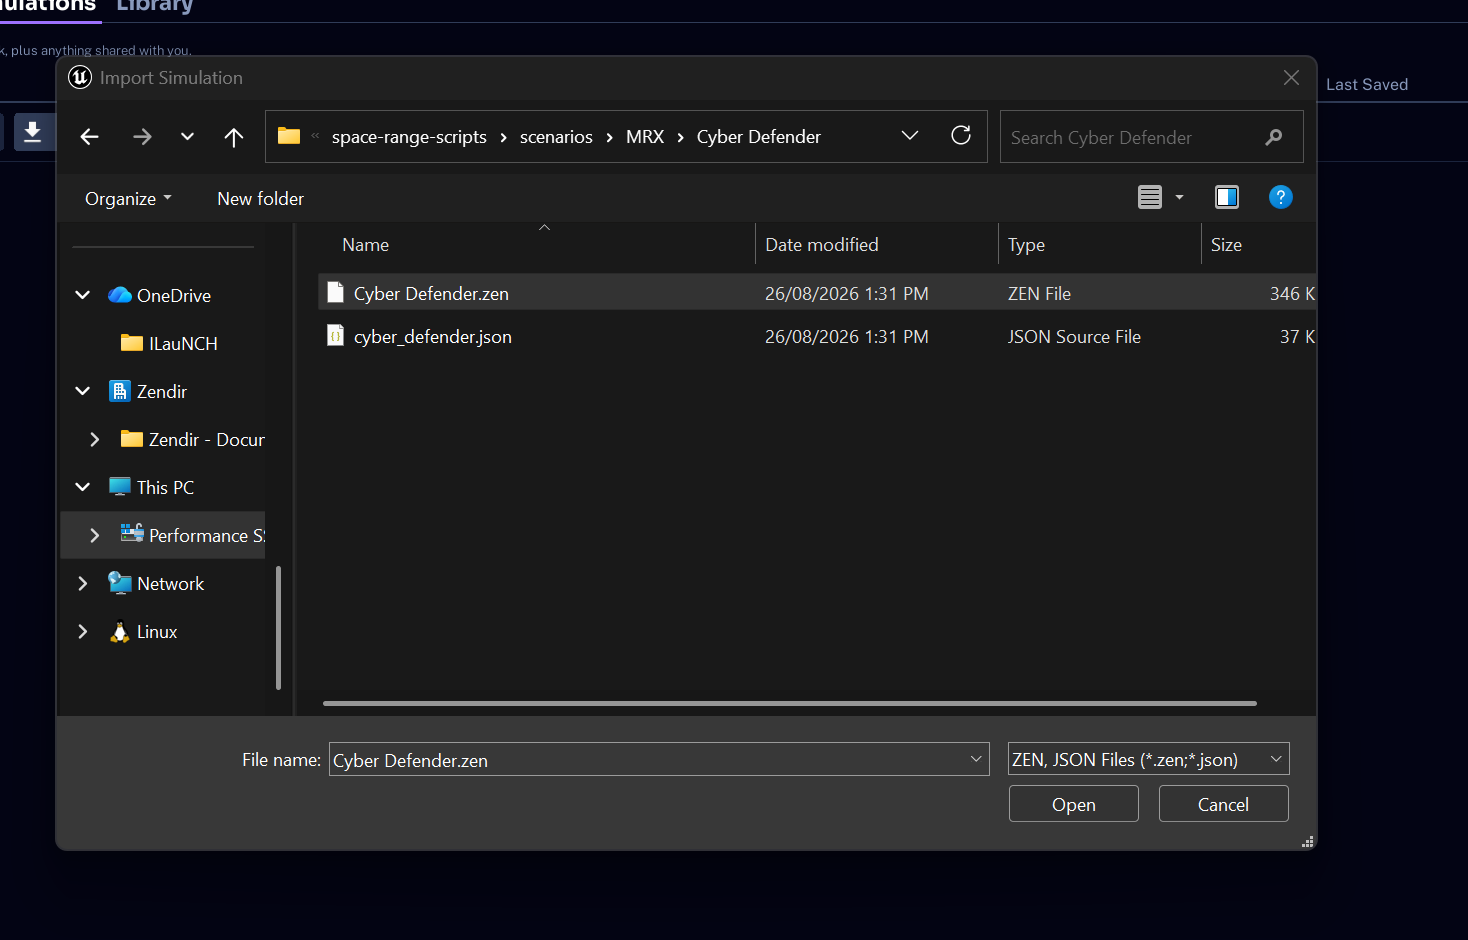
From the Studio home screen, import the .zen scenario file.
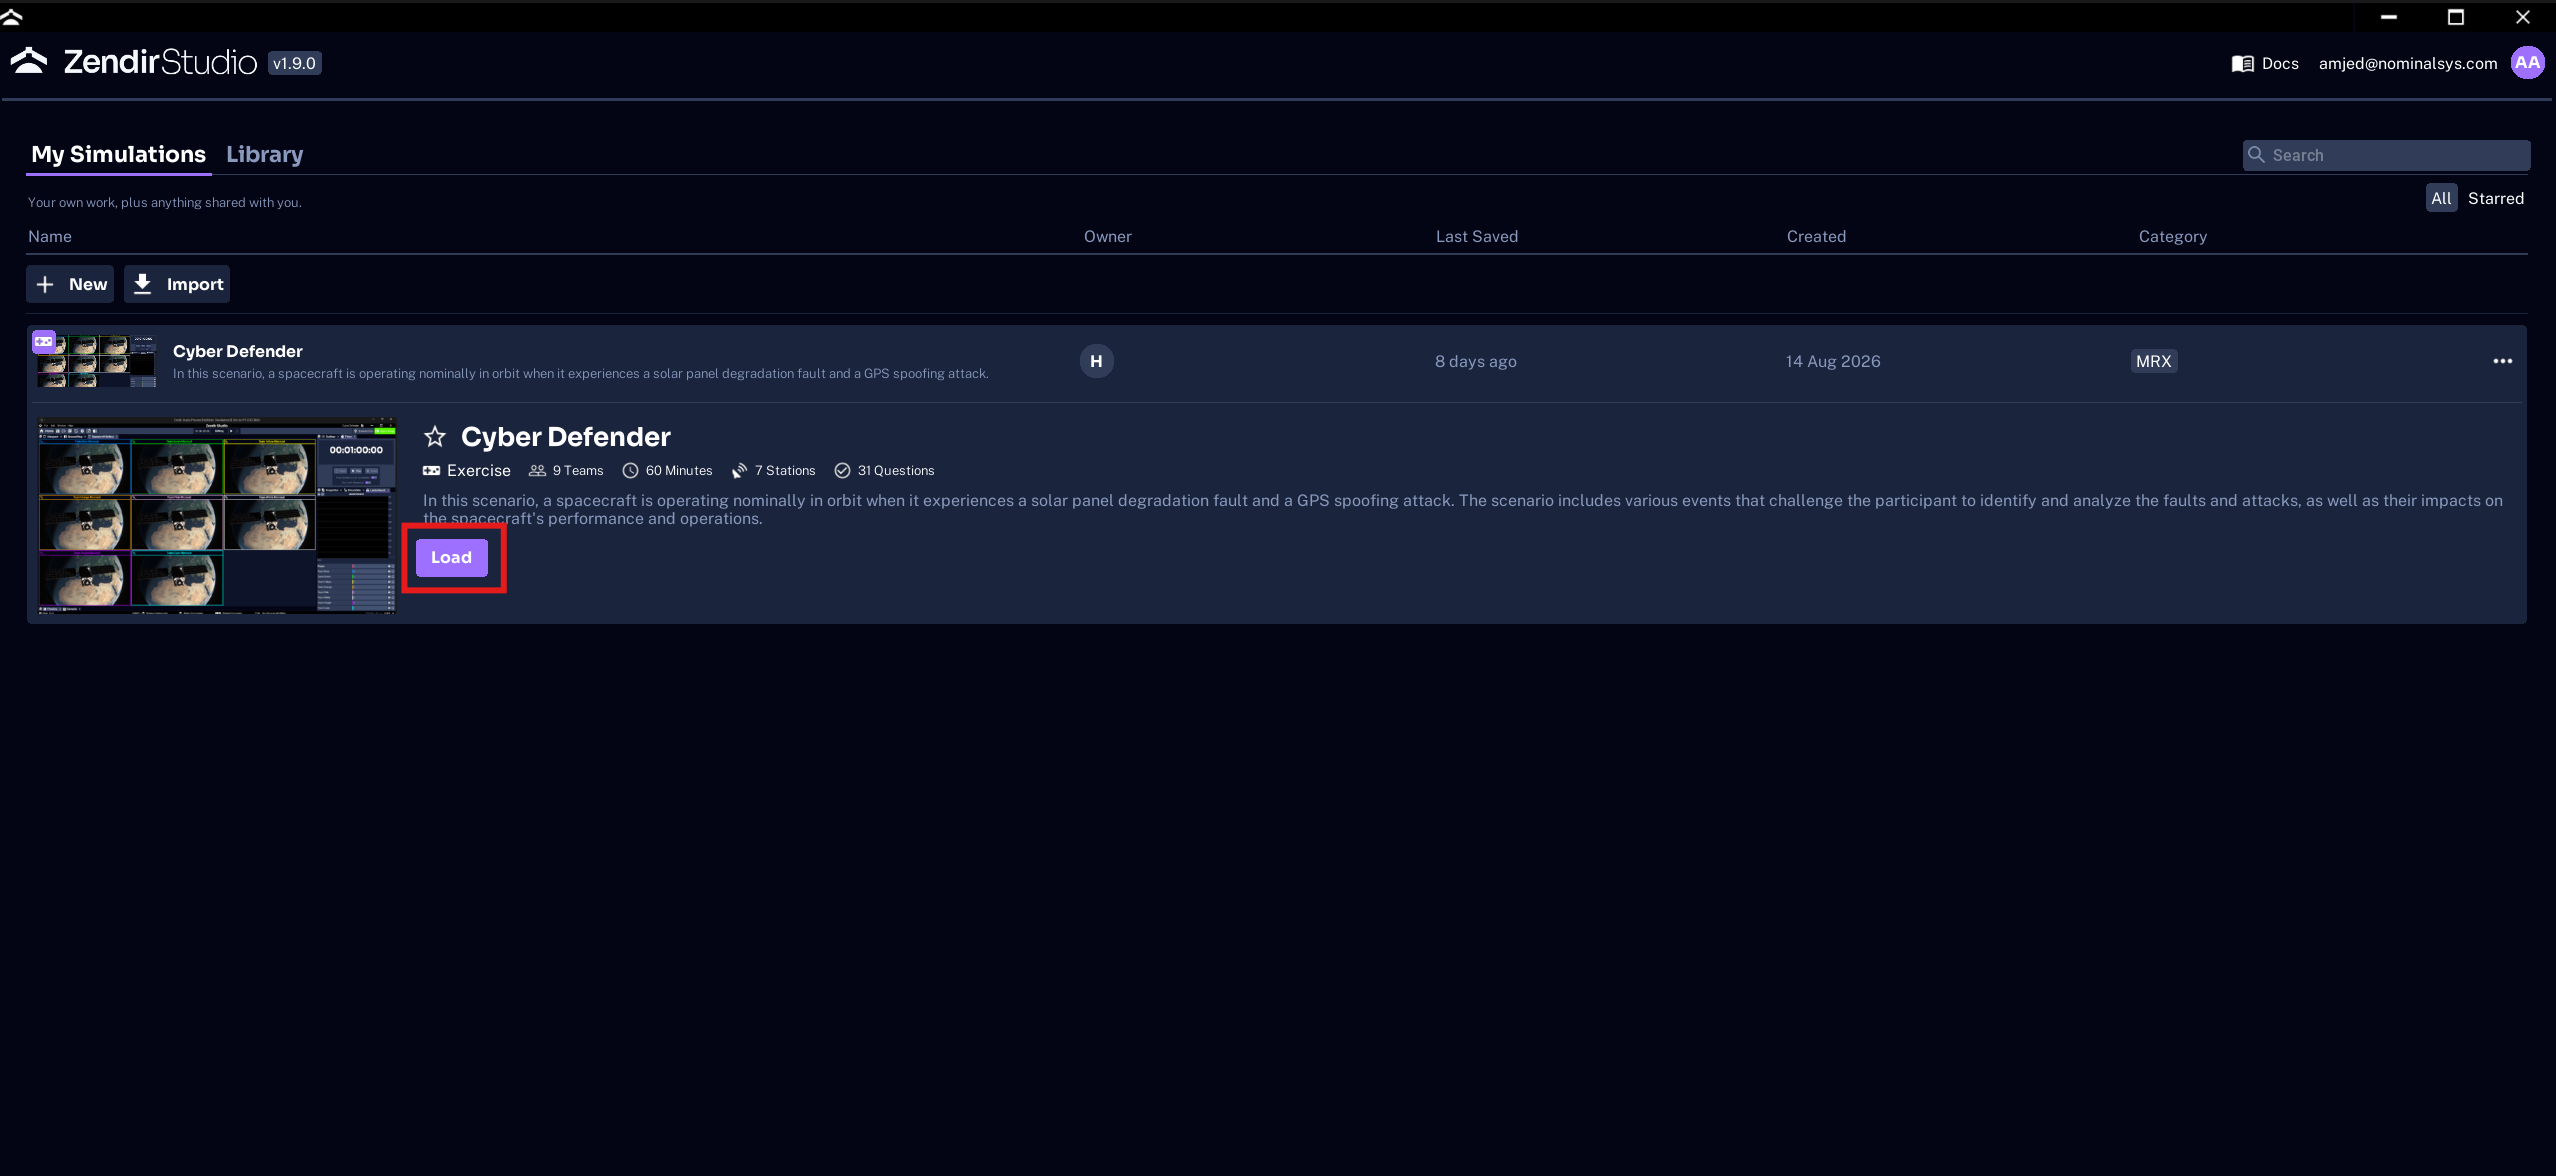
Importing opens a complete Studio project. Depending on the scenario, you may see several spacecraft, ground stations, ground objects, or other targets.
WARNING
Opening another
.zenproject replaces the project currently loaded in Studio. Save anything you need before importing.
3. Open Space Range settings
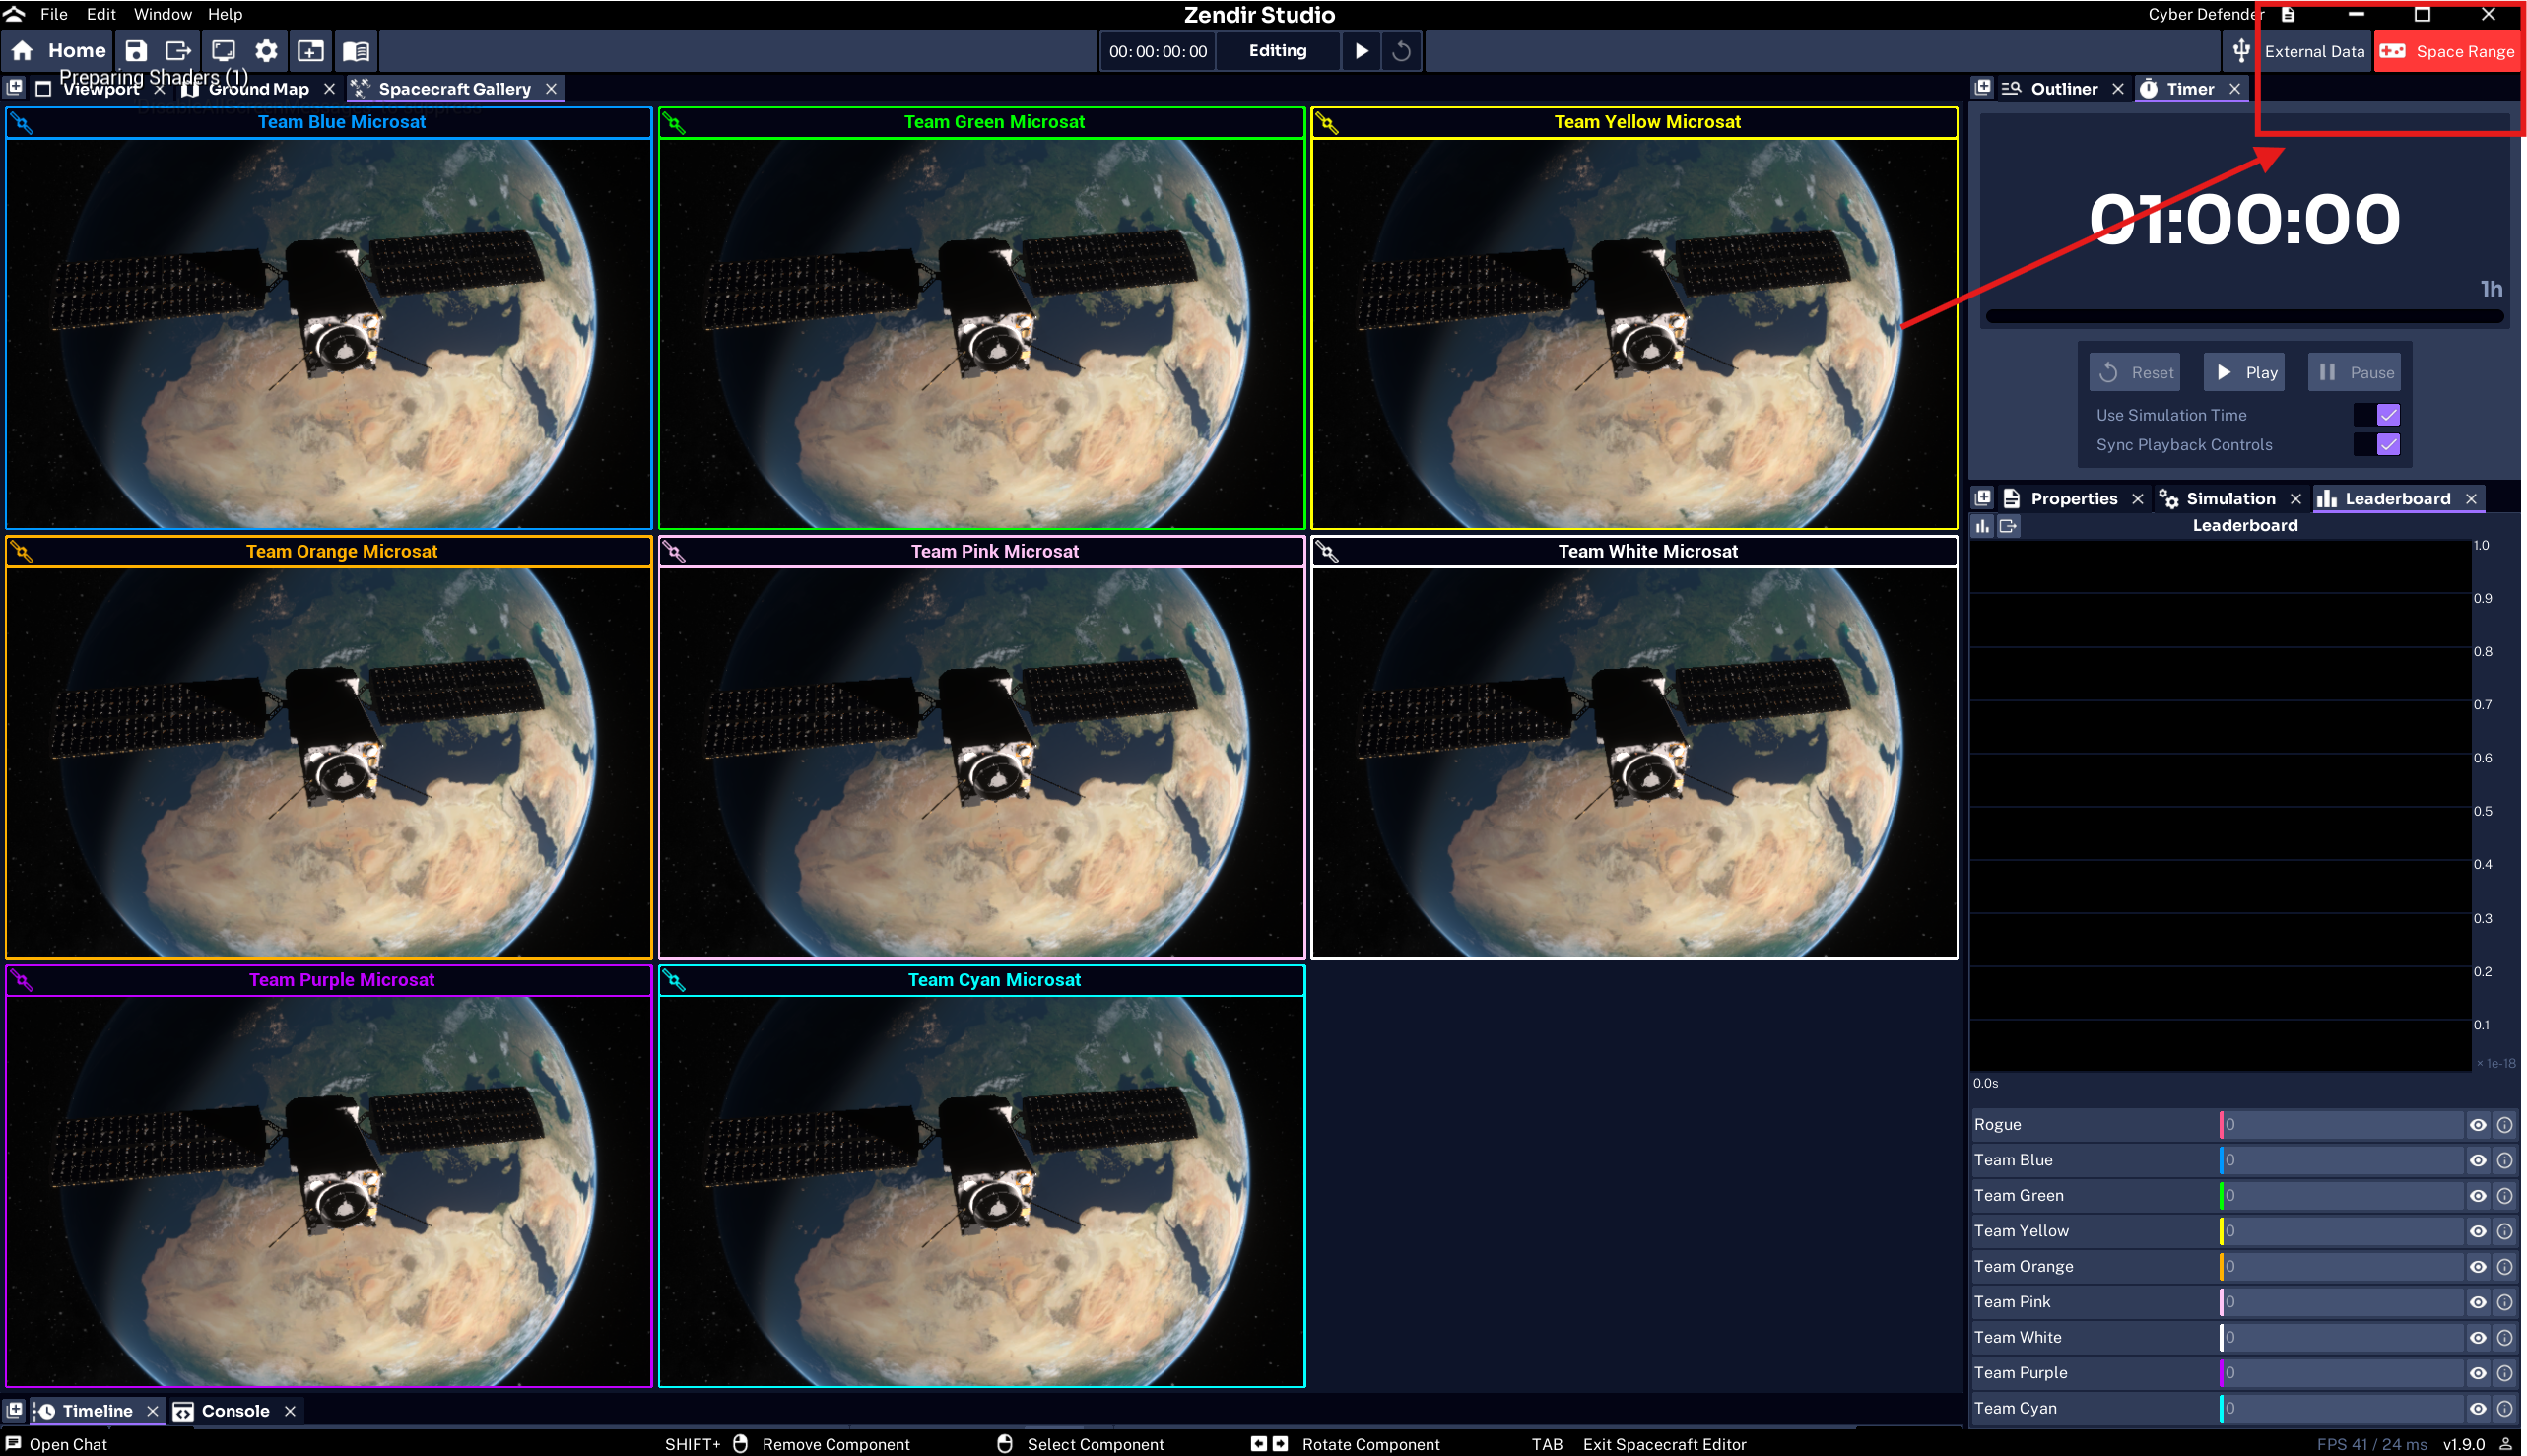
After the project loads, find Space Range in the top-right corner.
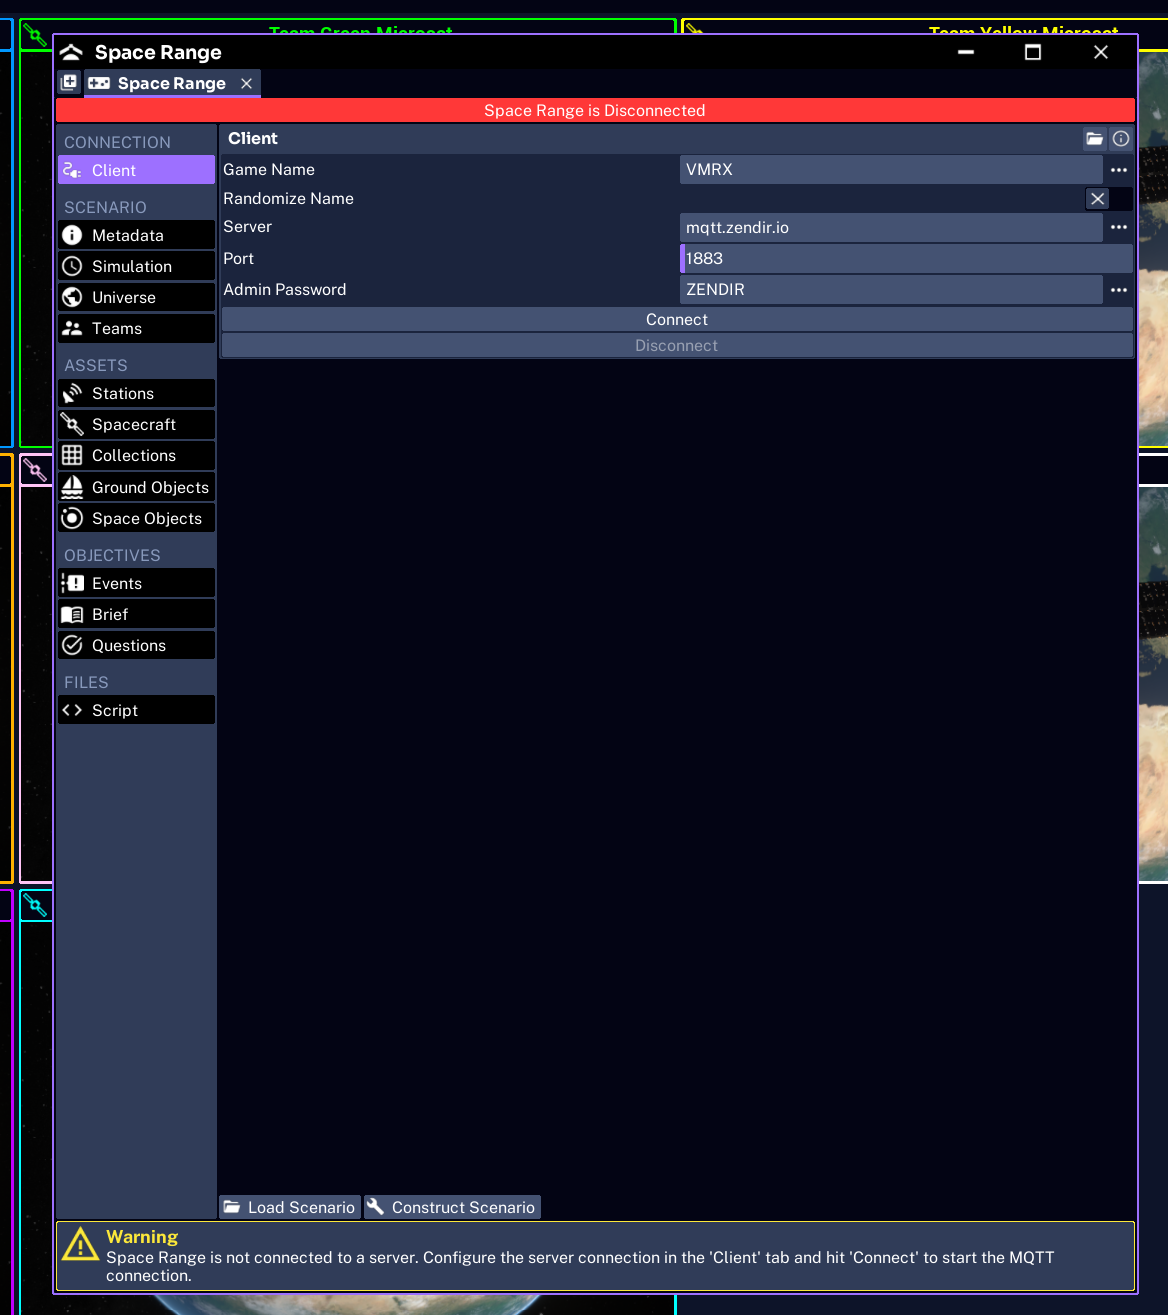
The button is red while the range is disconnected. Click it to open Space Range Settings.
4. Check the connection settings
Before connecting, confirm:
- Name is the session name participants will search for
- MQTT Server points to the correct broker
- MQTT Port matches that broker
- the Admin Password is set and is not the same as a team access code
- the expected teams are enabled
The default hosted broker is usually mqtt.zendir.io on port 1883, unless your organization runs its own broker.
Read Configure the server and teams before connecting if any of these values need changing.
5. Connect Studio
Select Connect Client.
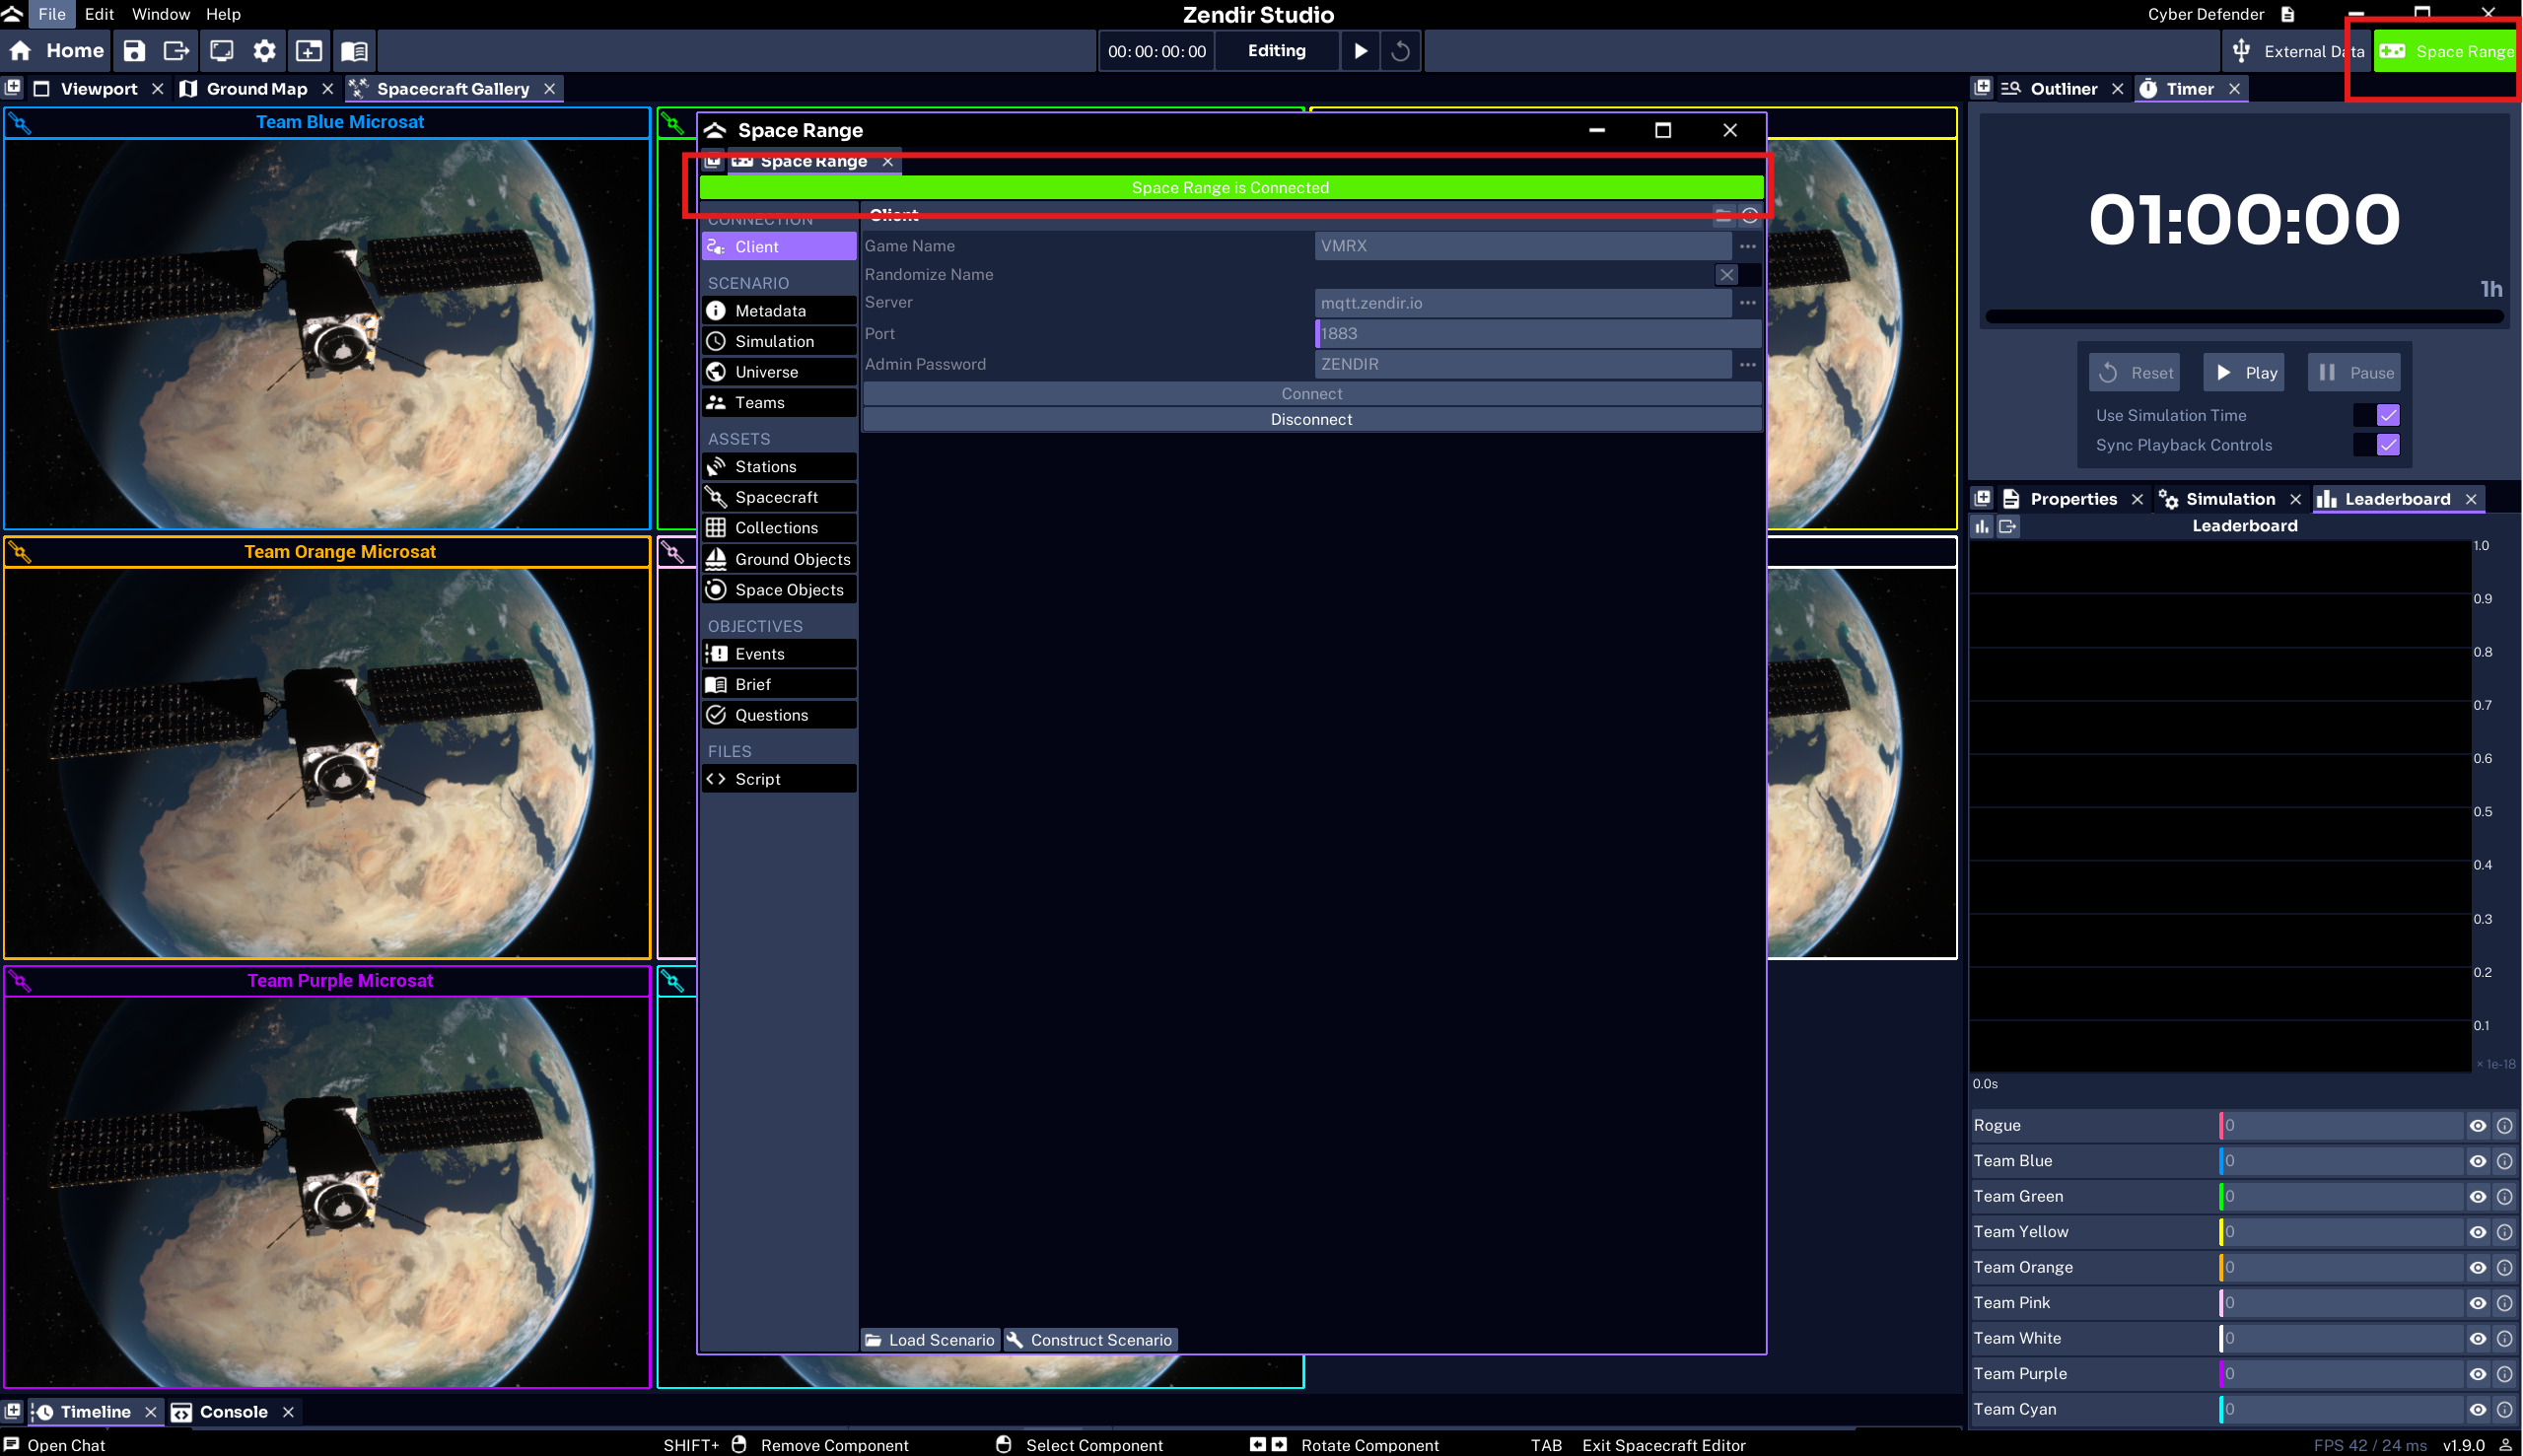
When the connection succeeds:
- the action changes to Disconnect Client
- the Space Range button changes from red to green
- the session becomes discoverable in Operator
WARNING
Do not show Space Range Settings to participants. It contains team credentials and the admin password.
6. Let teams join
Keep the simulation paused while participants join. Send each team only:
- the session name
- their team name
- their six-character access code
Participants follow Joining an Exercise.
Do not press Play until the roster is ready and you have completed the pre-flight check.